
Catalog
1. Installation
1.1 Extract the package
Extract the package directly to /opt.cd /opt
tar xvzf kodeflex.{latest version}.zbox_64.tar.gz Important:
- Do not extract the package to another directory and then copy it into /opt/. Doing so may change file ownership and read/write permissions.
- Do not set the entire extracted directory to 777.
1.2 Common service commands
Use the following commands to manage Apache and MySQL:
- start: Start all services:
/opt/zbox/zbox start - stop: Stop all services:
/opt/zbox/zbox stop - restart: Restart all services:
/opt/zbox/zbox restart - check: Check service status based on the current configuration:
/opt/zbox/zbox check
To start services automatically at boot, add the following command to your system startup scripts: /opt/zbox/zbox restart
1.3 Access and log in to KodeFlex
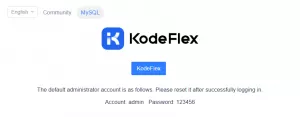
After Apache and MySQL are running, open the following URL in a browser: http://kodeflex server-ip:apache-port .
Notes:
- If the page does not open, temporarily disable the firewall and SELinux on the server, then try again.
- If you are using a cloud server, make sure the Apache port is allowed in the server's security group.
- The default KodeFlex administrator account is Username,adminPassword is 123456.
After logging in, you can start using KodeFlex. For detailed usage instructions, refer to the product user manual.
1.4 Optional parameters
If you run /opt/zbox/zbox without arguments, it will display the available options:
Usage: ./zbox {start|stop|status|check} [--aport=8080] [--mport=3307]
- Use the
--aportparameter to change the Apache port. - Use the
--mportparameter to change the MySQL port.
Example: set Apache to 8080 and MySQL to 3307.
/opt/zbox/zbox --aport 8080 --mport 3307 start
15:49:49 root@mini zbox → /opt/zbox/zbox --aport 8080 --mport 3307 start
 15:52:09.54 INFO  ==> Starting service with custom port,Apache port=8080, MySQL port=3307...
 15:52:09.57 INFO  ==> Stopping the apache service...
 15:52:10.68 INFO  ==> The apache service is stopped.
 15:52:10.69 INFO  ==> Starting apache service...
 15:52:10.76 INFO  ==> Stopping the mysql service...
 15:52:11.79 INFO  ==> MySQL stop successfully.
 15:52:11.80 INFO  ==> Starting mysql service...
 15:52:12.94 WARN  ==> XXD is running.
==============================================================
Service             Port           Status    Version   Comment
==============================================================
Apache              8080           running   2.4.57
PHP                 -              running   7.4.33    prefork
MySQL               3307           running   10.6.14   MariaDB
XXD                 11443 11444    running   7.2.2
==============================================================
Application         Version
==============================================================
kodeflex            1.0
adminer             4.8.1
2. Accessing the Database
2.1 Access the database from a browser
KodeFlex uses Adminer for database management. For security reasons, Adminer requires authentication before access.
Run the following script to create an authentication user: /opt/zbox/auth/adduser.sh
# 进入脚本目录
cd /opt/zbox/auth
# 执行添加用户的脚本
bash adduser.sh
This tool is used to add user to access adminer
Account: admin  # 输入用户名
Password:       # 输入密码
Adding password for user admin
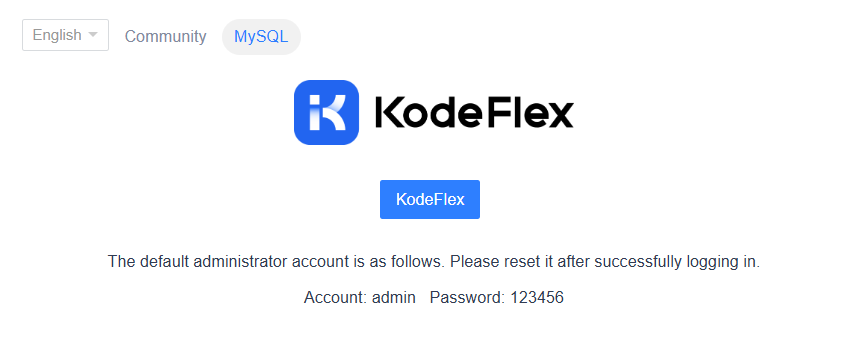
Then open the following URL in your browser and click Database Management:
http://kodeflex server-ip:apache-port
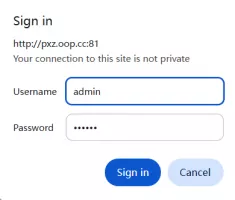
When prompted, enter the username and password you created with adduser.sh.
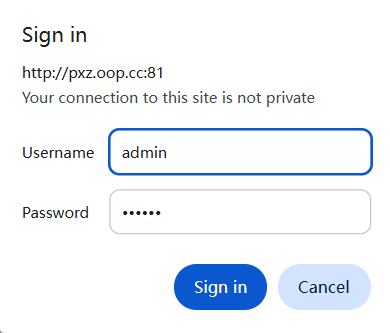
For example, if the username you added is admin and the password is admin!@#, then enter admin and admin!@# on the authorization page.
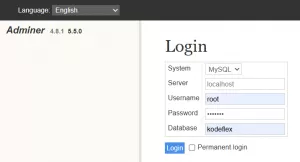
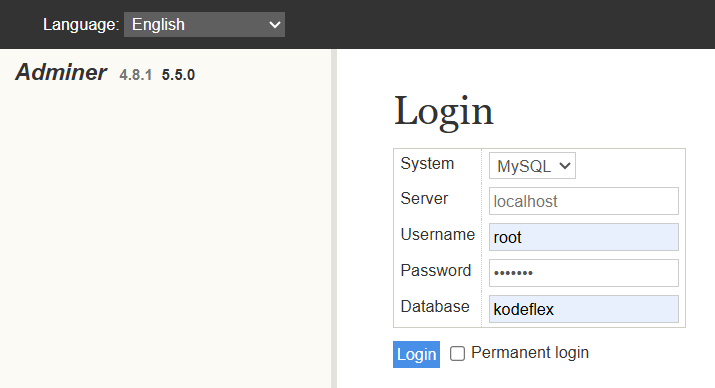
The browser will then display the login page directly:
- System: Select MySQL by default.
- Server: 127.0.0.1:<MySQL port> (For example, if MySQL is using port 3307, enter 127.0.0.1:3307. Note: the IP address must be 127.0.0.1.)
- Username: root (The default KodeFlex database username is root.)
- Password: 123456 (The default KodeFlex database password is 123456.)
- Database: kodeflex
Import Data:
2.2 Access the database from the command line
Log in to MySQL:/opt/zbox/bin/mysql -u root -P <mysql-port> (Example: /opt/zbox/bin/mysql -u root -P 3306 -p)
Import a database:/opt/zbox/bin/mysql -u root -P Import a database -p (Example: /opt/zbox/bin/mysql -u root -P 3306 -p kodeflex < kodeflex.sql)
3. Check Service Status
Run the following command to view the current service status and version information:
/opt/zbox/zbox status
/opt/zbox/zbox  status
 16:06:15.41 INFO  ==> Checking service status...
==============================================================
Service             Port           Status    Version   Comment
==============================================================
Apache              8080           running   2.4.57
PHP                 -              running   7.4.33    prefork
MySQL               3307           running   10.6.14   MariaDB
XXD                 11443 11444    running   7.2.2
==============================================================
Application         Version
==============================================================
kodeflex            1.0
adminer             4.8.1
4. Additional Notes
4.1 Log compression and cleanup
By default, the Linux one-click package compresses Apache access logs and error logs daily. However, old compressed logs are not cleaned up automatically.
Set up a scheduled task to manage and remove old log files when needed.
Apache log compression settings are defined in:/opt/zbox/etc/apache/httpd.conf
4.2 Package directory structure
The root directory of the one-click package contains a README file with a detailed description of the directory structure and the purpose of each folder.
4.3 Configuration file
When the package starts for the first time, it creates a .env file in the root directory. This file stores the initial configuration values and can be updated as needed.
# Apache host address,change this manually if using an external web service.
export MYSQL_HOST=127.0.0.1
# Apache port number,Use the --aport parameter to change it.
 export APACHE_PORT=80
# MySQL host address,change this manually if using an external MySQL service.
export MYSQL_HOST=127.0.0.1
# MySQL port,Use the --mport parameter to change it.
export MYSQL_PORT=3306
# MySQL password; update this value if changed manually
export MYSQL_PASS=123456
# Default service user; do not change
export DEFAULT_USER="nobody"
# Default service group; do not change
export DEFAULT_GROUP="nogroup"
# Enable or disable the built-in MySQL service
export MYSQL_SERVICE=enabled
# Enable or disable the built-in Apache service
export APACHE_SERVICE=enabled
# PATH setting
export PATH=$PATH:/opt/zbox/bin
If you modify the .env file, your settings will not be overwritten during an upgrade. Any new configuration items introduced in later versions will be appended automatically. If you enable or disable a service in .env, run the following command to apply the changes immediately: /opt/zbox/zbox check