
Catalog
Introduction
ZAI is an enterprise-oriented intelligent service platform built on the LeiTuo intelligent engine.
ZAI provides large model aggregation capabilities, offering fundamental support for scenarios such as intelligent dialogue, knowledge bases, and intelligent agents. It has a built-in comprehensive monitoring system, allowing real-time viewing of usage statistics and analysis reports; it also features multi-layered security protection, supporting call restriction policies and content security management.
AI relies on ZAI as a basic service. This article will introduce the ZAI installation process and basic usage methods.
Note: ZAI 1.0 is a completely new upgraded version and does not support upgrades from earlier beta versions; a clean installation is required.
Installation via Docker
The ZAI service currently supports deployment via Docker. The steps are as follows:
Step 1: Install Docker
Ensure that Docker is installed.
Step 2: Create the docker-compose.yml file
Create a directory in your file system to store the ZAI service files—for example, `~/zai/`. Then, create an empty text file named `docker-compose.yml` inside the `~/zai/` directory. You can create it via the command line:
# Create a folder named zai (or any other name) to store system files generated by the ZAI service
mkdir zai && cd zai
# Create an empty docker-compose.yml file
touch docker-compose.yml
Step 3: Configure docker-compose.yml
Open the docker-compose.yml file using any editor and add the following content:
services:
  # PostgreSQL Database service; if using a self-hosted database, please delete this service.
  postgres:
    image: hub.zentao.net/third-party/pgvector/pgvector:pg16 # If using the official Docker image, you can set it to pgvector/pgvector:pg16
    container_name: postgres
    ports:
      - "5432:5432"
    environment:
      - POSTGRES_USER=postgres      # Postgres Administrator username
      - POSTGRES_PASSWORD=zai123456 # Postgres Administrator password
      - POSTGRES_DB=zai_base         # Manage database name initialization
    volumes:
      - postgres_data:/var/lib/postgresql/data
    healthcheck:
      test: ["CMD-SHELL", "pg_isready -U postgres"]
      interval: 5s
      timeout: 5s
      retries: 5
    networks:
      - zai-network
  # Initialize the database service; if you are using your own database service, please remove this service.
  db-init:
    image: hub.zentao.net/third-party/postgres:16 # If using the official Docker image, you can configure it as follows: postgres:16
    depends_on:
      postgres:
        condition: service_healthy
    environment:
      - POSTGRES_USER=postgres      # 与 postgres Username matching the postgres service
      - POSTGRES_PASSWORD=zai123456 # 与 postgres Password matching the postgres service
      - POSTGRES_DB=zai_base        # Name of the database to connect to (pgvector extension will be enabled)
    # Connect to PostgreSQL via psql and create the pgvector extension; if the target database does not exist, create it first before enabling the extension; also, actively wait for the port to be ready before execution.
    command: >
      bash -lc "set -euo pipefail;
        PGPASSWORD=$$POSTGRES_PASSWORD psql -h postgres -U $$POSTGRES_USER -d postgres -v ON_ERROR_STOP=1 -tAc \"SELECT 1 FROM pg_database WHERE datname='$$POSTGRES_DB'\" | grep -q 1 || \
        PGPASSWORD=$$POSTGRES_PASSWORD psql -h postgres -U $$POSTGRES_USER -d postgres -v ON_ERROR_STOP=1 -c \"CREATE DATABASE \\\"$$POSTGRES_DB\\\"\"; \
        PGPASSWORD=$$POSTGRES_PASSWORD psql -h postgres -U $$POSTGRES_USER -d $$POSTGRES_DB -v ON_ERROR_STOP=1 -c 'CREATE EXTENSION IF NOT EXISTS vector;'"
    networks:
      - zai-network
    restart: "no"
  # ZAI Services
  app:
    image:  hub.zentao.net/app/zai:v1.3.0 # If using the official Docker image, you can configure it as follows: qihangnet/zai:v1.3.0
    container_name: zai
    ports:
      - "8000:8000"
    environment:
      - LANG=zh_CN.UTF-8      # Container default language and encoding
      - LANGUAGE=zh_CN:zh     # Language priority order
      - DB_HOST=postgres      # Database host (Compose service name)
      - DB_PORT=5432          # Database port
      - DB_USER=postgres      # Database username
      - DB_PASSWORD=zai123456 # Database password
      - DB_NAME=zai_base      # Database Name
    depends_on:
      postgres:
        condition: service_healthy
      db-init:
        condition: service_completed_successfully
    networks:
      - zai-network
volumes:
  postgres_data:
networks:
  zai-network:
    driver: bridge
Please check the docker-compose.yml configuration (including comments) and adjust the following settings as needed:
Confirm the ZAI service version being used.
The currently recommended ZAI service version is 1.3.0. If you need to use a different version, replace v1.3.0 with the target version number.
  app:
    image:  hub.zentao.net/app/zai:v1.3.0 # When using version 1.3.0, if you use the official Docker image, you can configure it as follows: qihangnet/zai:v1.3.0< container_name: zai
Configuring the ZAI Service Port
The ZAI service uses port 8000 by default. If you need to use a different access port on the host machine, please adjust the host port specified in the port mapping (format: host:container):
  app:
    ports:
      - "8000:8000" # Host machine 8000 → container 8000
Database Configuration
ZAI requires a PostgreSQL database to store data. If you are using a self-hosted database, please remove the `postgres` and `db-init` services. Whether using a self-hosted database or the PostgreSQL service provided by Docker, you must configure the database connection details within the `app` service using the following environment variables:
  app:
    environment:
      - DB_HOST=postgres      # Database host address; set this to `postgres` if using the Postgres service provided by Docker Compose.
      - DB_PORT=5432          # Database port
      - DB_USER=postgres      # Database username
      - DB_PASSWORD=zai123456 # Database password
      - DB_NAME=zai_base      # Database name
Environment variable explanation:
| variable name | describe | default value | Required |
|---|---|---|---|
DB_HOST |
Database host address | localhost | ✓ |
DB_PORT |
Database port | 5432 | |
DB_USER |
Database username | postgres | |
DB_PASSWORD |
Database password | (null) | ✓ |
DB_NAME |
Database name | dathor |
If you are not using a self-built database (i.e., using the PostgreSQL service in Compose), you need to configure connection information in postgres and db-init. In the postgres service, this can be set via the following environment variables:
  postgres:
    environment:
      - POSTGRES_USER=postgres      # Database username
      - POSTGRES_PASSWORD=zai123456 # Database password
      - POSTGRES_DB=zai_base        # Database name
Step 4: Install and start the ZAI service
The initial installation requires pulling the image; the time taken depends on network conditions (it may take several minutes). Run the following command to start it:
# Pull the latest image
docker-compose pull
# Run in the background
docker-compose up -d
# Check the status of the app process.
docker-compose logs app
Note: If using Docker Compose v2, please replace `docker-compose` with `docker compose` in the command.
Step 5: Access and initialize the ZAI service
After the ZAI service starts, open it in your browser http://localhost:8000。
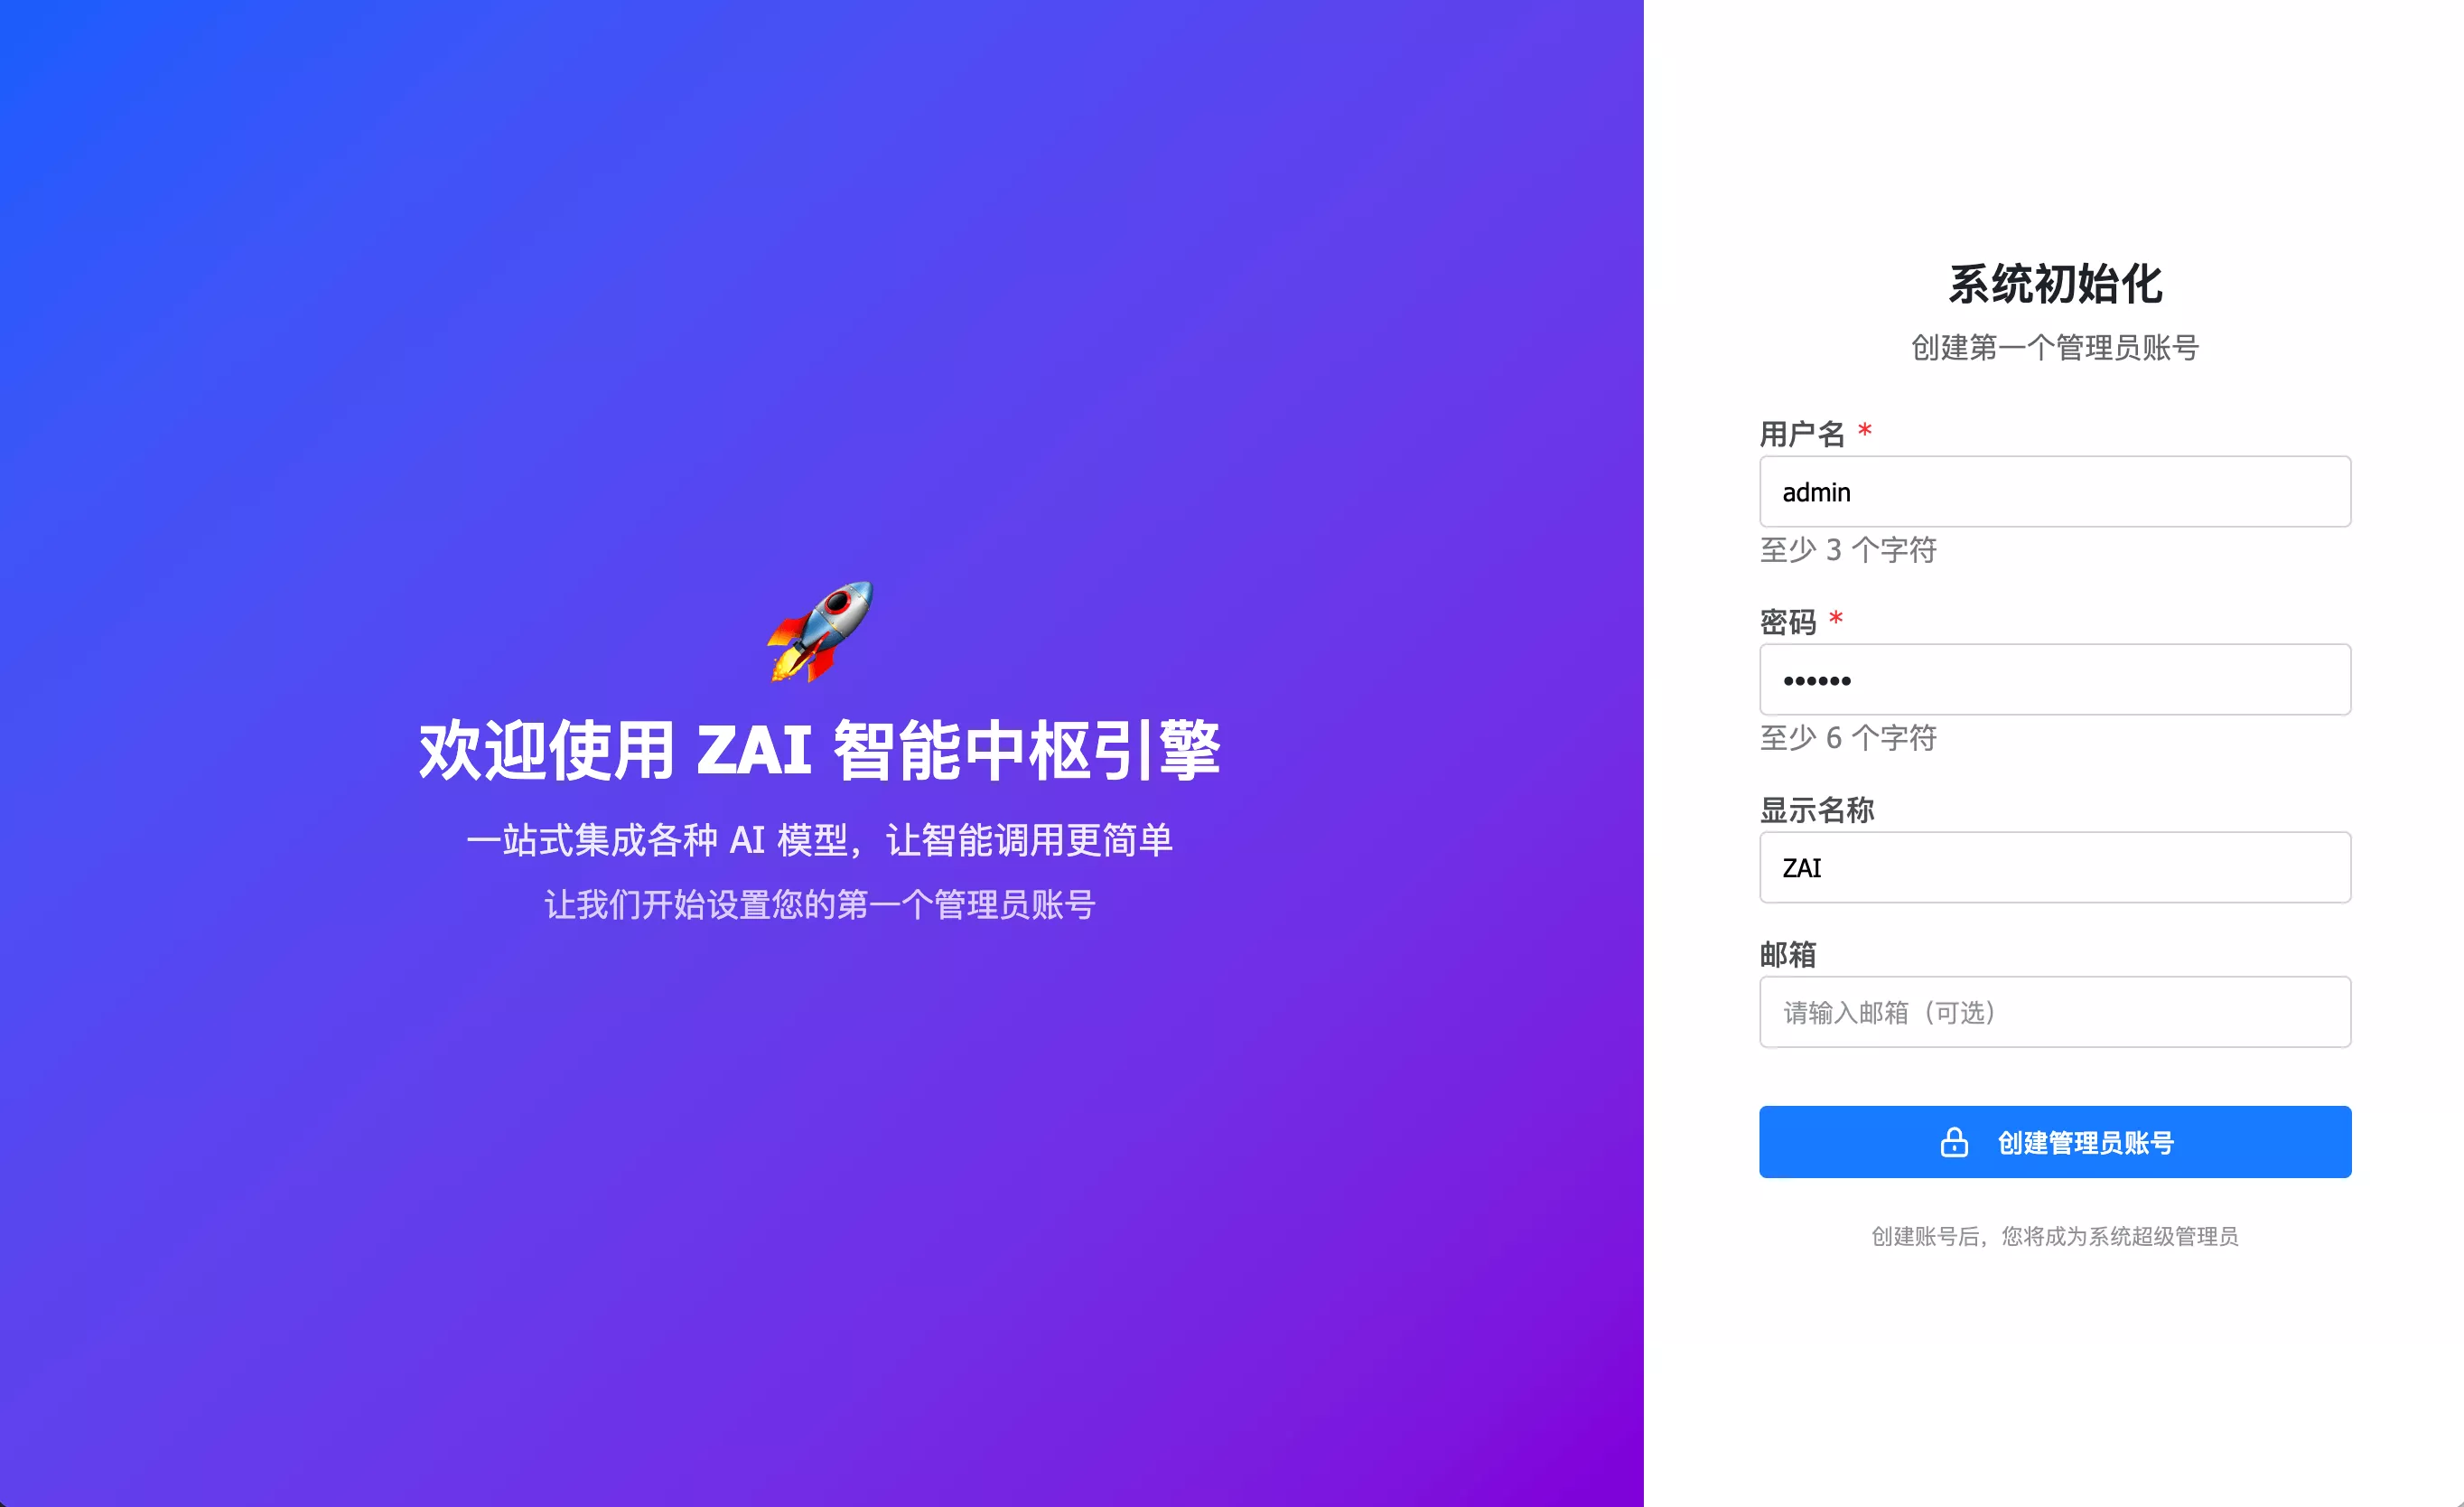
You must create an administrator account upon your first visit. Simply follow the prompts to enter the administrator account details and password to complete the setup.
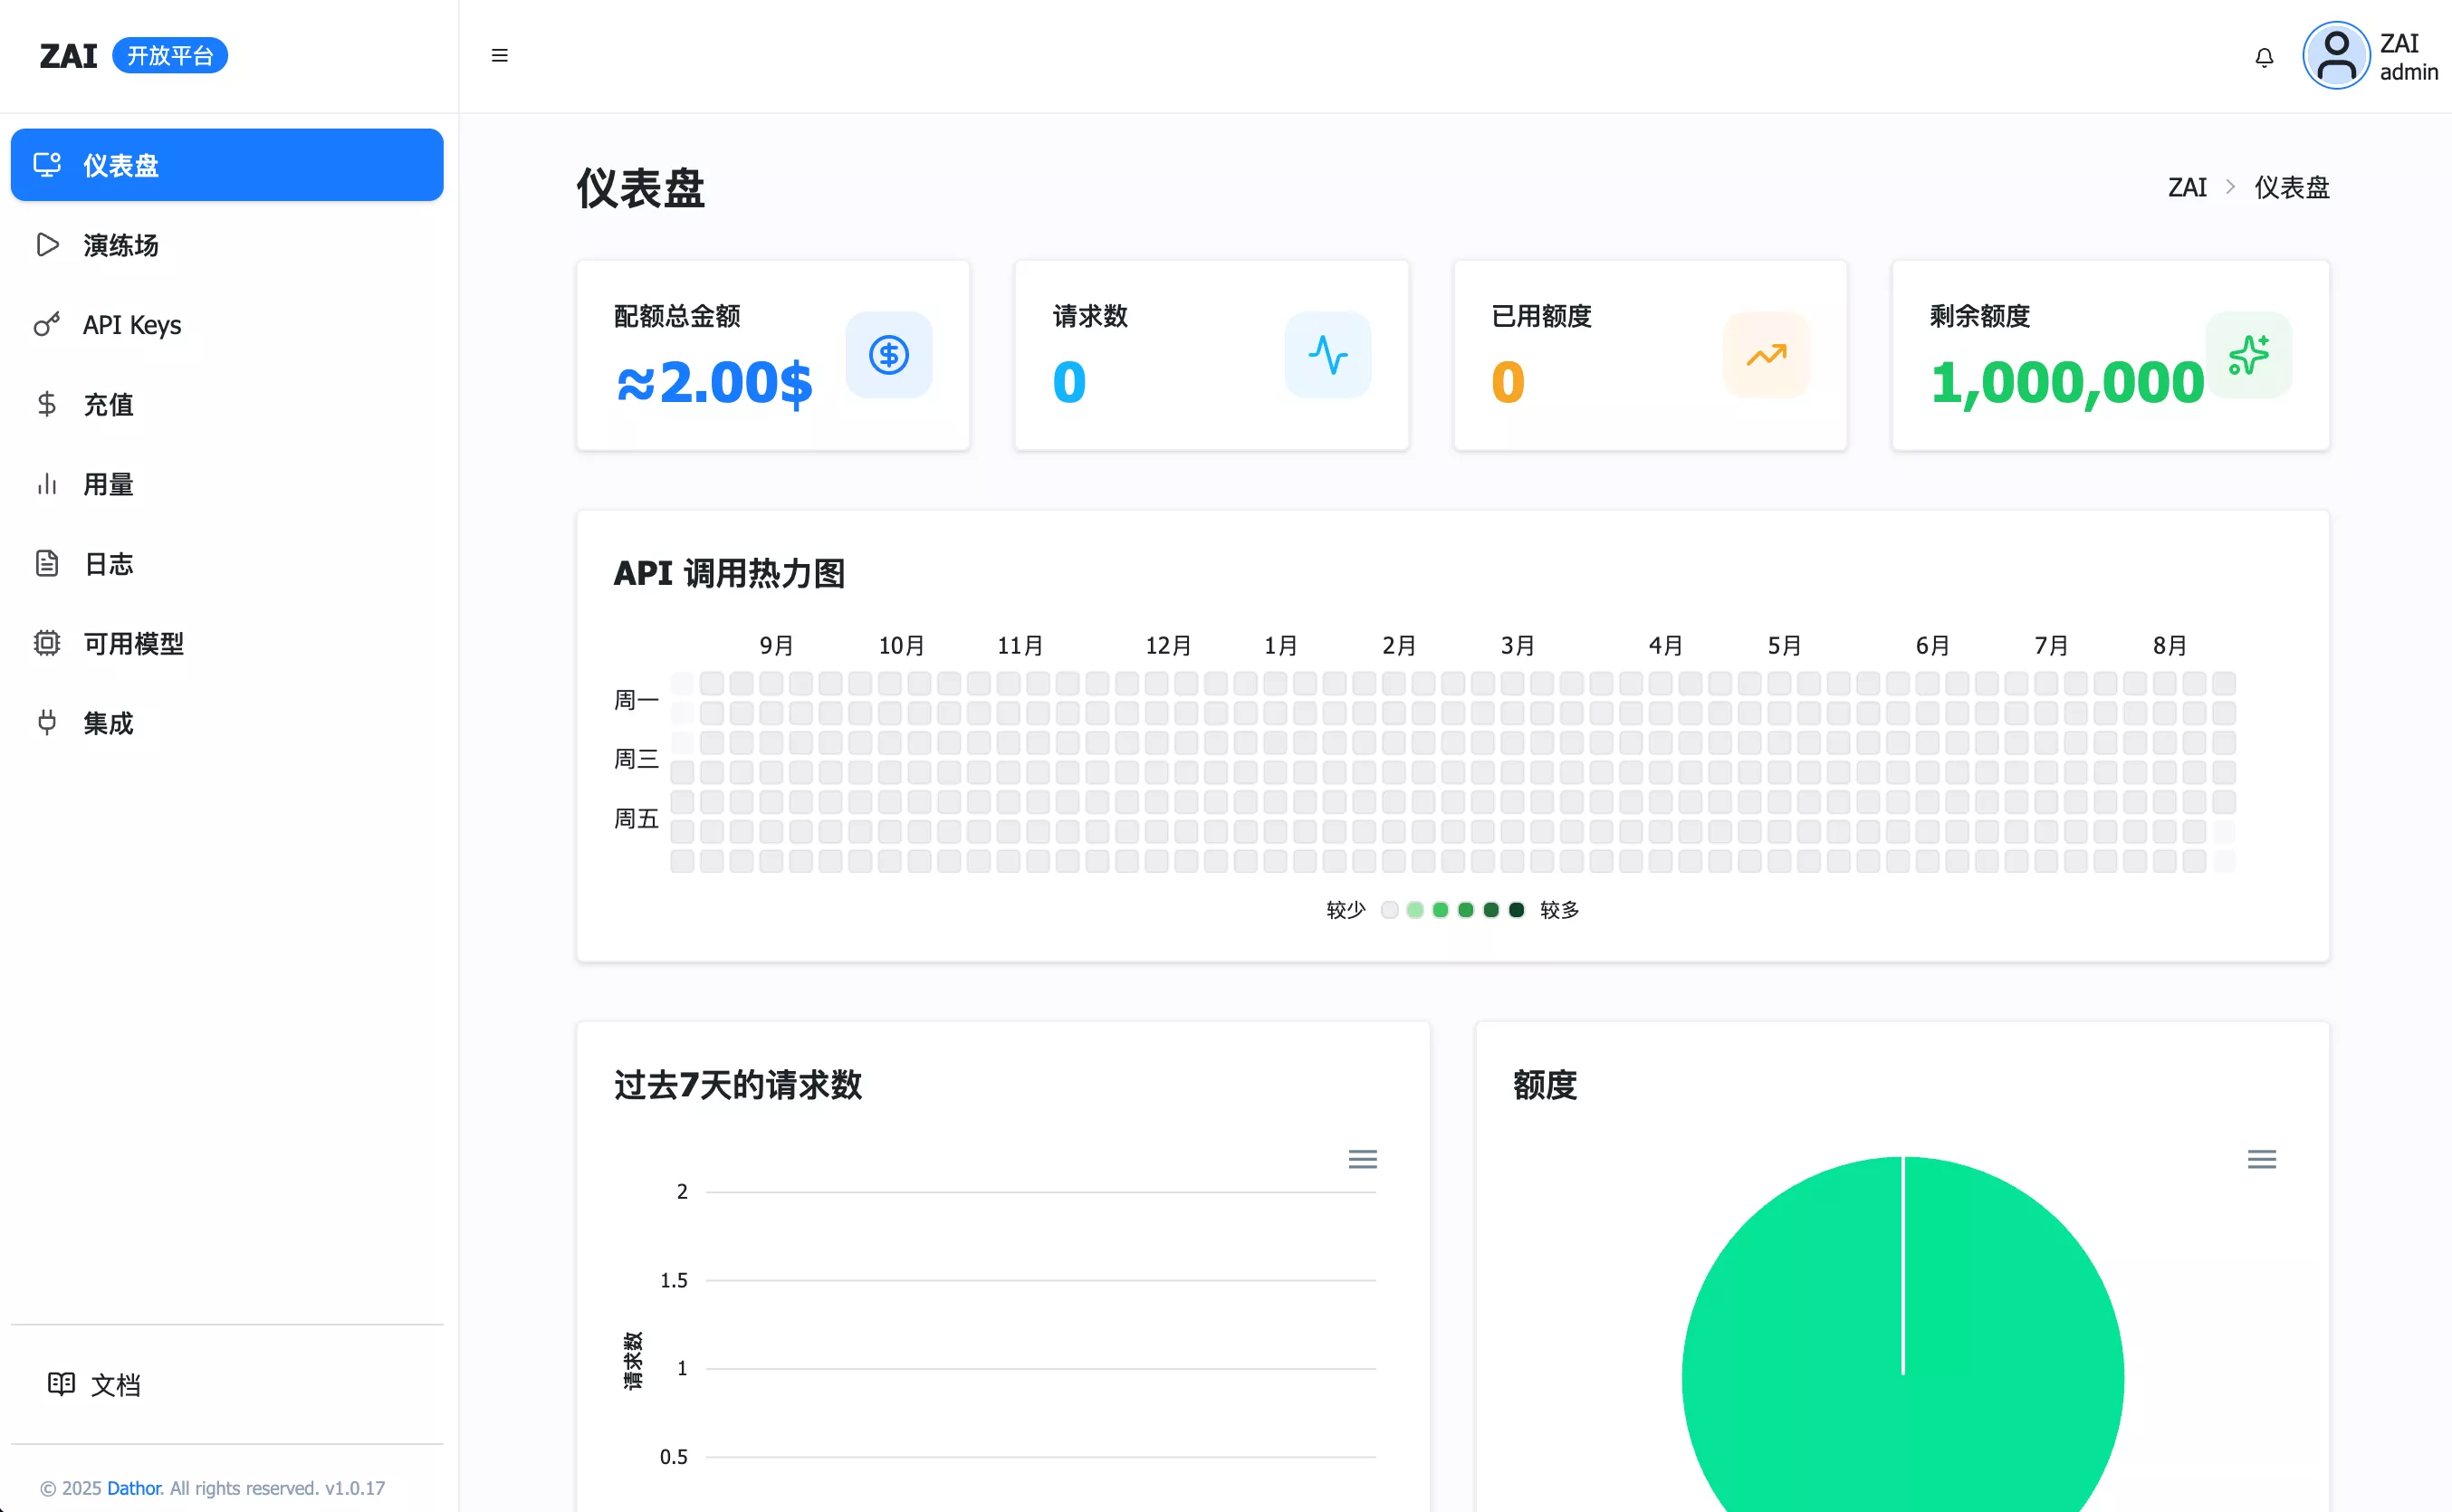
You can subsequently use this account and password to log in to the system.
Upgrading ZAI
When a new version of ZAI is released, navigate to the ZAI service directory and follow these steps to upgrade:
Step 1: Stop the existing service.
# Stop existing services
docker-compose down
If you want to delete the old container and data, you can add the -v parameter:
# Stop and delete old containers—danger!
docker-compose down -v
Step 2: Update the docker-compose.yml file.
Before upgrading, you need to modify the `docker-compose.yml` file by replacing the image version number with the new one. You can obtain the new version here: https://hub.docker.com/r/qihangnet/zai
  app:
    image:  hub.zentao.net/app/zai:v1.3.0 # If you are using version 1.3.0 and the official Docker image, you can set it to `qihangnet/zai:v1.3.0`.
Step 3: Pull the latest image and start it.
# Pull the latest image
docker-compose pull
# Run in the background
docker-compose up -d
# Check the status of the app process.
docker-compose logs app
Additional Reference
- For ZAI configuration and usage, please refer to the ZAI Control Panel documentation.