
Catalog
ZenPanel One-Click Service Control Panel for Windows
To improve installation efficiency on Windows, we launched ZenPanel, a highly configurable one-click service control panel. ZenPanel directly integrates all the environments required for operation, solving the environment configuration problems users encounter when installing ZenTao and other software, and reducing the difficulty of software deployment.
Users can personalize the integrated runtime environment to adapt to the product theme appearance, integrate required software services, change software configuration files, and so on. The core functions are as follows:
Note: If the path where the installation package is located contains Chinese characters or other special symbols, an error message will appear when starting KodeFlex. You need to modify the path and restart KodeFlex.
When uninstalling services, all services in the runtime control panel will be uninstalled.
Supported languages: Simplified Chinese, Traditional Chinese, and English.
Among the above operations, except for viewing logs, modifying the port and reinstalling will restart the Apache service.
When modifying the port, the system will automatically check whether the port is occupied. If it is occupied, a corresponding prompt will appear and the modification cannot be made.
If you need to enhance database security, you can click Modify Password in the MySQL Server drop-down menu. The pop-up window will display the default account and password. You can set a new password. After clicking OK, the database password will be modified automatically.
If Apache user access authentication is required, you need to check Enable Apache User Access Authentication and click Access ZenTao to enter the authentication page. On the authentication page, enter the username and password, then click Log In.
Note: The initial account for Apache user access authentication is:
Username: kodeflex
The default administrator account for the first login is:
Username: admin
If you need to maintain password security settings, you can modify them on the Admin - Security page.
To improve installation efficiency on Windows, we launched ZenPanel, a highly configurable one-click service control panel. ZenPanel directly integrates all the environments required for operation, solving the environment configuration problems users encounter when installing ZenTao and other software, and reducing the difficulty of software deployment.
Users can personalize the integrated runtime environment to adapt to the product theme appearance, integrate required software services, change software configuration files, and so on. The core functions are as follows:
- Integrates Apache, MySQL, PHP, and other runtime environments on Windows
- Installs, controls, and configures Apache and MySQL services
- Automatically configures service port numbers to avoid service startup failures caused by port occupation
1. Obtain the Windows one-click installation package (portable version)
You can contact the sales staff on the KodeFlex official website to obtain the Windows one-click installation package.2. Run the installation package
Double-click the installation package file and extract it to a directory. Enter the KodeFlex folder and click the KodeFlex.exe file to start the control panel.Note: If the path where the installation package is located contains Chinese characters or other special symbols, an error message will appear when starting KodeFlex. You need to modify the path and restart KodeFlex.
3. Settings
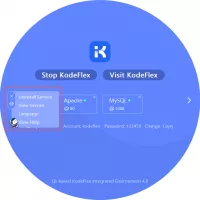
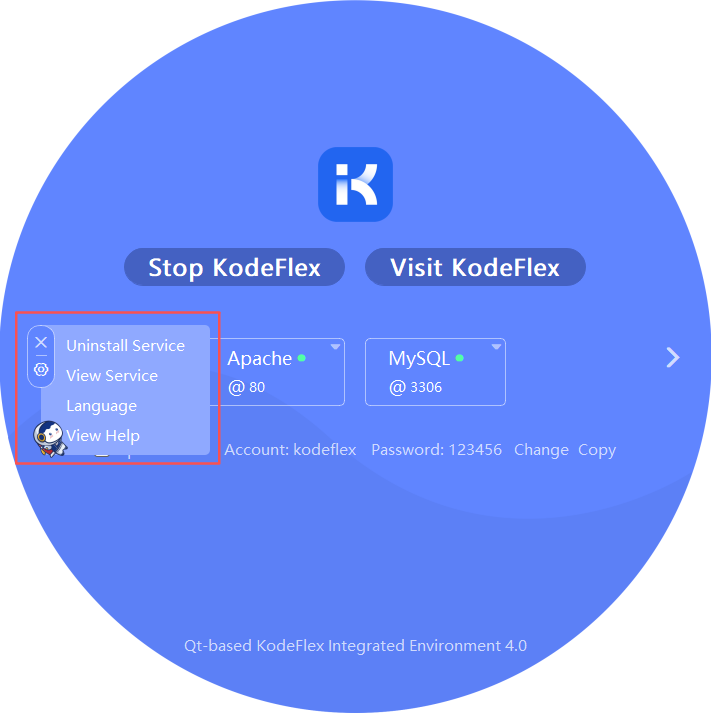
Click the Settings button to uninstall services, view services, set the language, and view help.When uninstalling services, all services in the runtime control panel will be uninstalled.
Supported languages: Simplified Chinese, Traditional Chinese, and English.
Click Close to minimize it to the tray in the lower-right corner.
4. Operations related to the Apache service
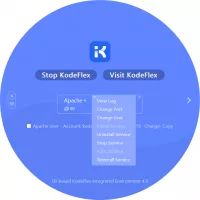
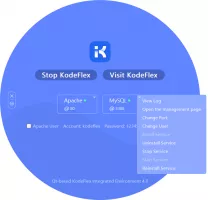
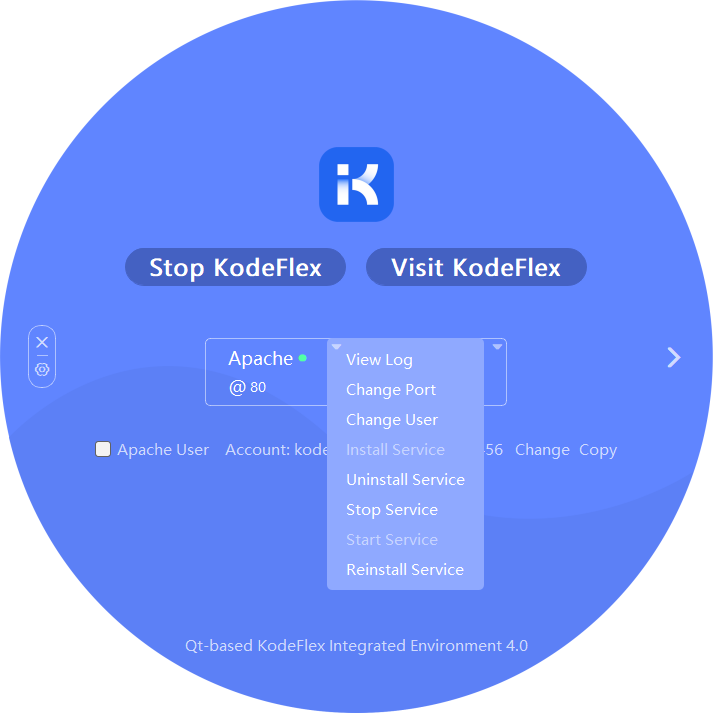
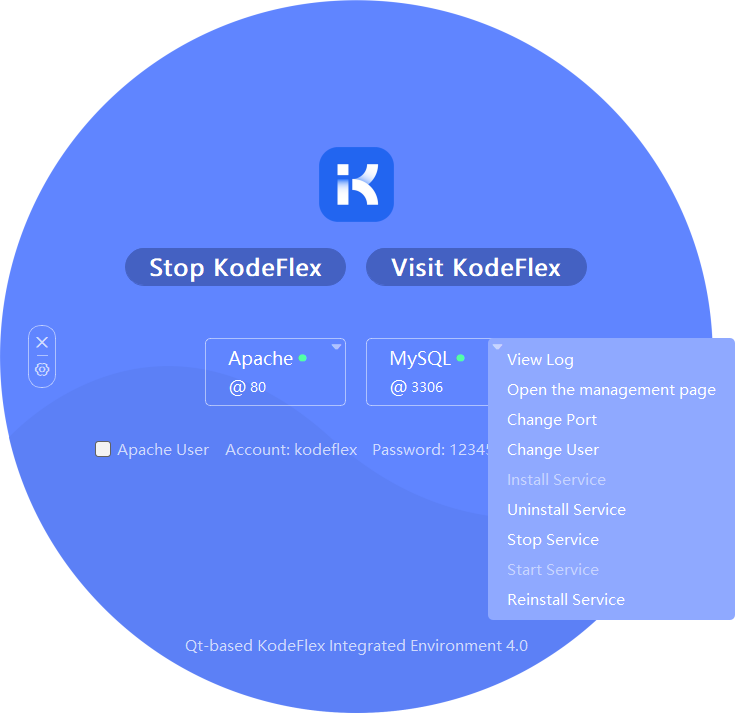
For Apache, you can view logs, modify the port, modify the password, install the service, uninstall the service, stop the service, start the service, and reinstall the service.Among the above operations, except for viewing logs, modifying the port and reinstalling will restart the Apache service.
When modifying the port, the system will automatically check whether the port is occupied. If it is occupied, a corresponding prompt will appear and the modification cannot be made.
Related operations can be viewed through the log viewer or the panel log on the right side.
5. Modify the database password
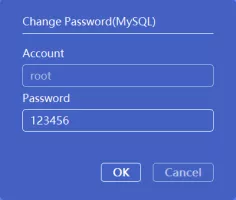
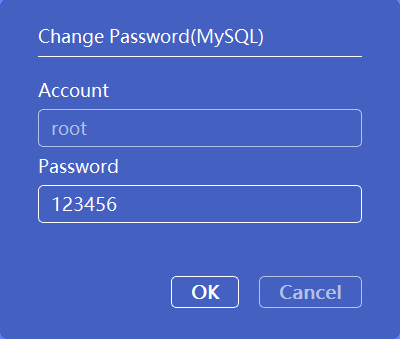
In the control panel, you can modify the database password and view logs. If not needed, you can skip this step.If you need to enhance database security, you can click Modify Password in the MySQL Server drop-down menu. The pop-up window will display the default account and password. You can set a new password. After clicking OK, the database password will be modified automatically.
Note: The database password must be 6 to 12 characters long and must include uppercase letters, lowercase letters, and numbers.
6. Apache user access authentication
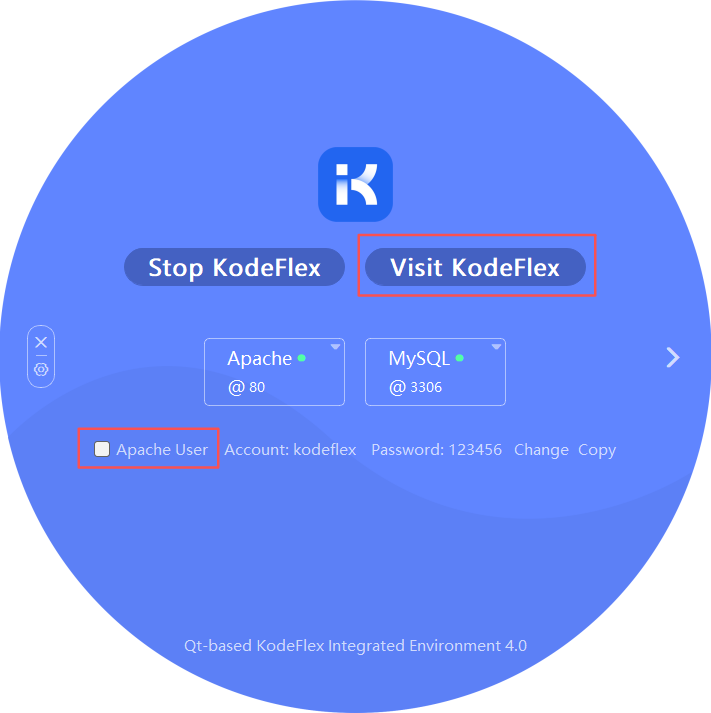
Apache user access authentication is not enabled by default. If not needed, you can skip this step.If Apache user access authentication is required, you need to check Enable Apache User Access Authentication and click Access ZenTao to enter the authentication page. On the authentication page, enter the username and password, then click Log In.
Note: The initial account for Apache user access authentication is:
Username: kodeflex
Password: 123456
7. Log in to ZenTao KodeFlex
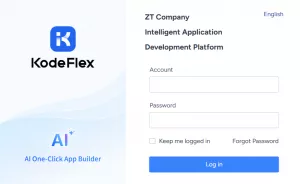
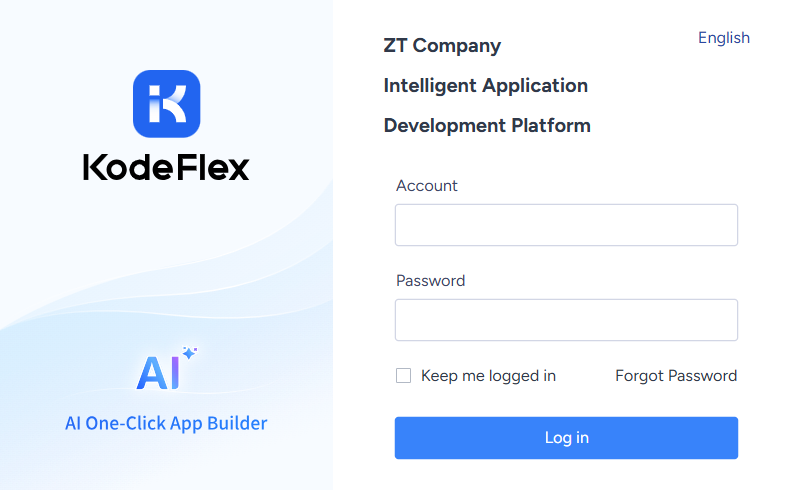
After Apache user access authentication is successful, click Access KodeFlex to enter the login page.The default administrator account for the first login is:
Username: admin
Password: 123456
8. Modify the KodeFlex password
After the super administrator logs in to KodeFlex, the system will automatically detect the password security level and prompt the user to change the password. After following the prompt and clicking the Save button, the modification is successful.If you need to maintain password security settings, you can modify them on the Admin - Security page.