Catalog
Actions define the operations users can perform within a workflow. The system includes common actions such as adding, editing, deleting, viewing, importing, exporting, generating reports, linking data, and removing data. Enabling a corresponding action will display the relevant functionality on the front-end page.
1. Adding and Editing Actions
After adding an action, the system automatically generates two fields in the main table: "Who Performed the Action" and "Action Time." Therefore, designers do not need to manually add these fields to the main table.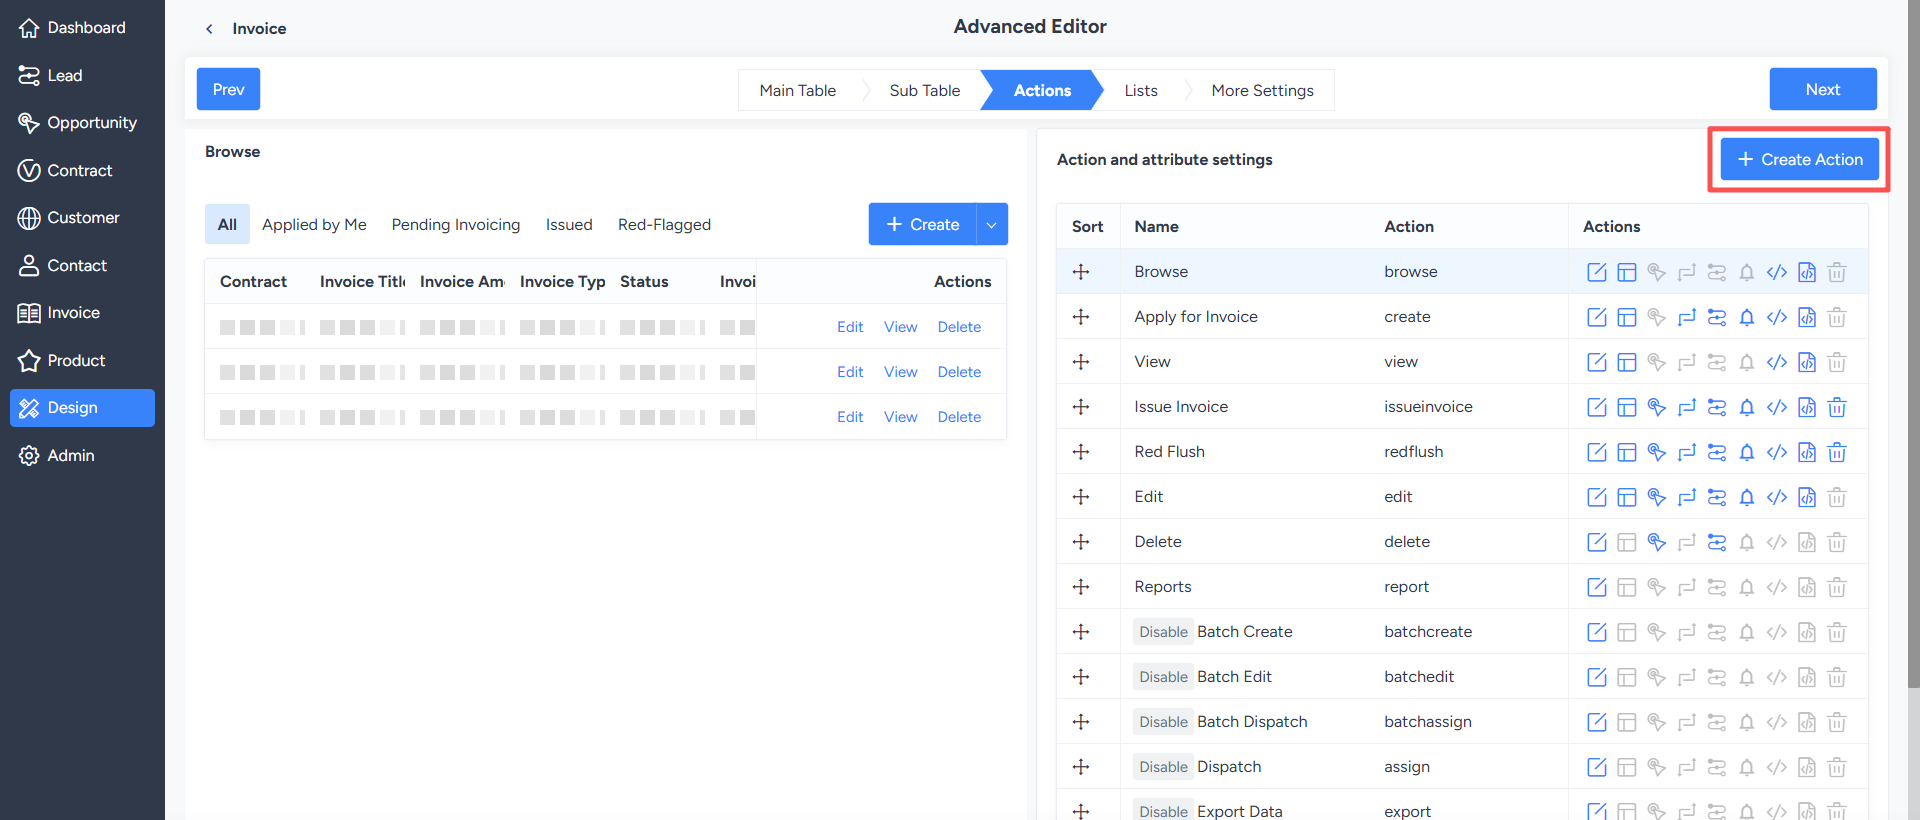
Common action configuration instructions are as follows:
1)Data Operation Method: Users can choose to operate on a single data item or perform batch operations.
2)Opening Method: No page, pop-up page, or normal page. No page is suitable for actions that do not require information input; pop-up pages and normal pages are suitable for actions that require form information input.
3)Display Location: You can choose to display it on the list page, details page, or both.
4)Display Method: You can choose to display it directly on the page or in a dropdown menu. When there are many actions, it is recommended to put less frequently used actions in the dropdown menu to avoid making the list operation columns too wide.
5)Action Icons:
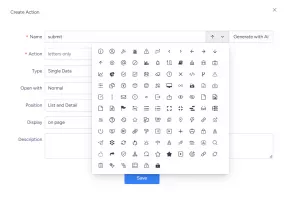
- The system provides fixed icons for built-in actions. Neither built-in actions nor newly added batch operations support icon editing.
- For newly added actions, you can set icons for each action on the list and detail pages of the business system based on the business context, making the action items more intuitive and easier to identify.
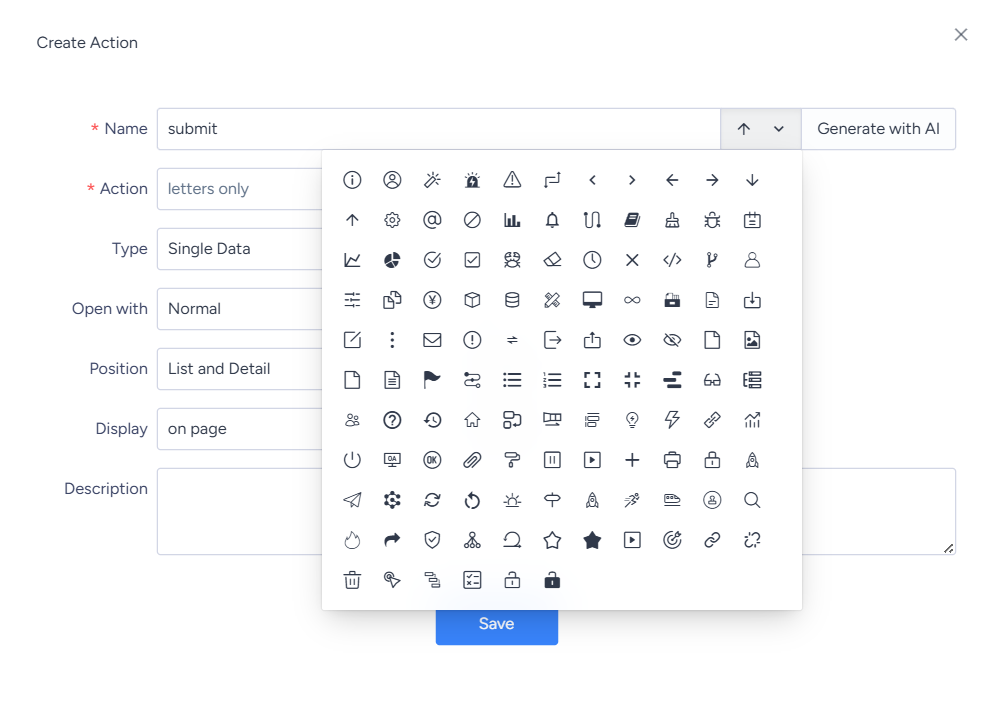
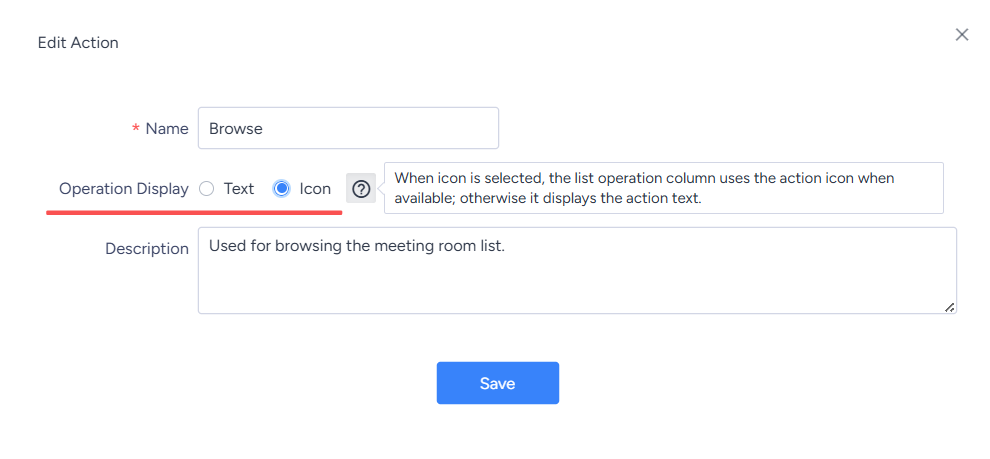
6)Configure the display of actions on list and detail pages:
Designers can configure how action items are displayed on list and detail pages based on the page layout and actual usage scenarios. This not only keeps the action area clean and organized, but also better aligns the application interface with specific business scenarios.
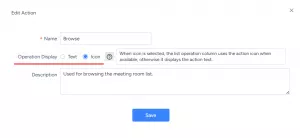
- Edit the display mode of the "Browse" action to show each action entry as text, an icon, or both.
- Edit the display mode of the "Details" action to show each action entry as text, an icon, or text with an icon.
2. Configure the Interface of an Action
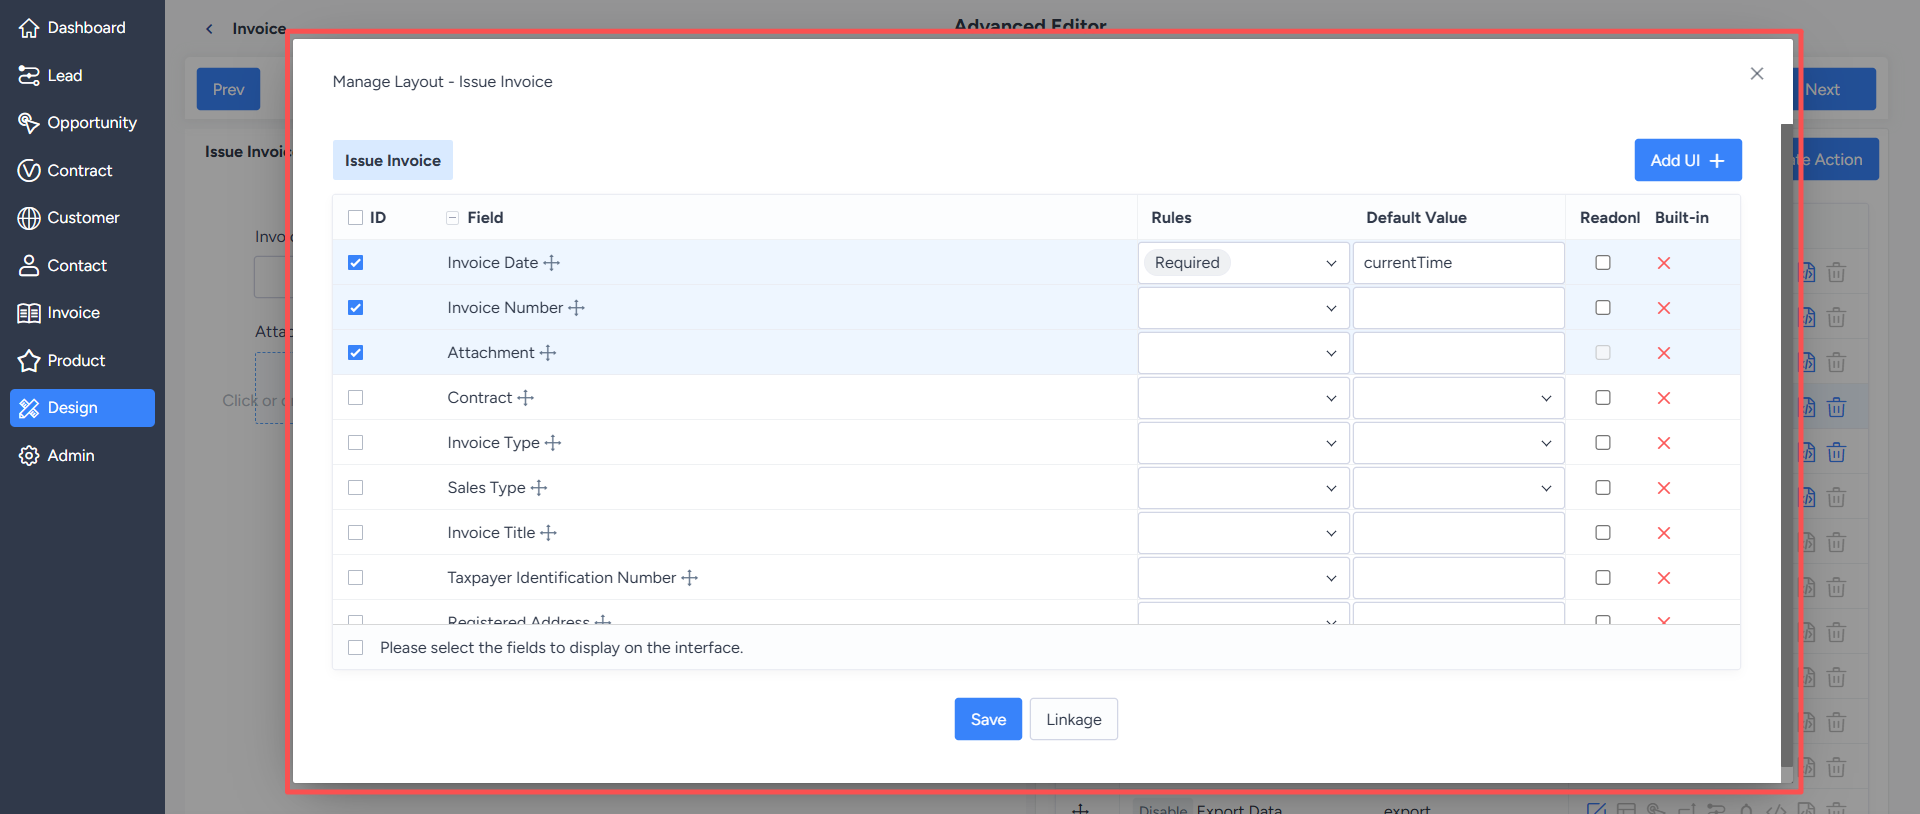
The interface is used to configure the content displayed on each action page. Click the "Design" button to maintain the interface content.The following operations can be performed in the interface design:
- Click on a field or the show/hide button on the right to control whether the field is displayed in the action interface;
- Drag fields to adjust their display order;
- Set the field width. The default width is automatic, but you can also enter a number to customize the width;
- Set validation rules to validate field content when the form is submitted;
- Set default values to reduce repetitive user input;
- Set to read-only, so that the field is only for display and cannot be modified by users.
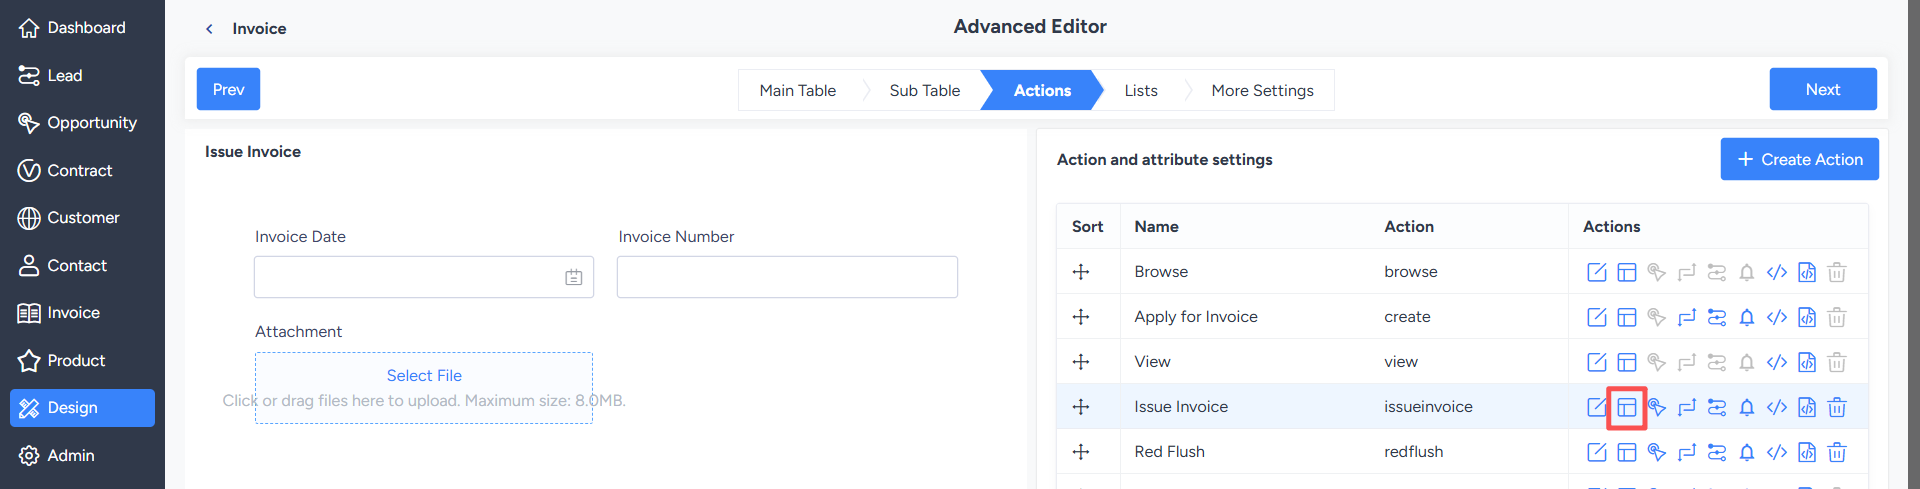
The details interface is slightly different, requiring you to set the field display position. The system provides two default sections: "Basic Information" and "Detailed Information." You can also replace the default sections with custom section labels to achieve multi-section, multi-label display.
3. Configure Interface Linkage for Action Forms
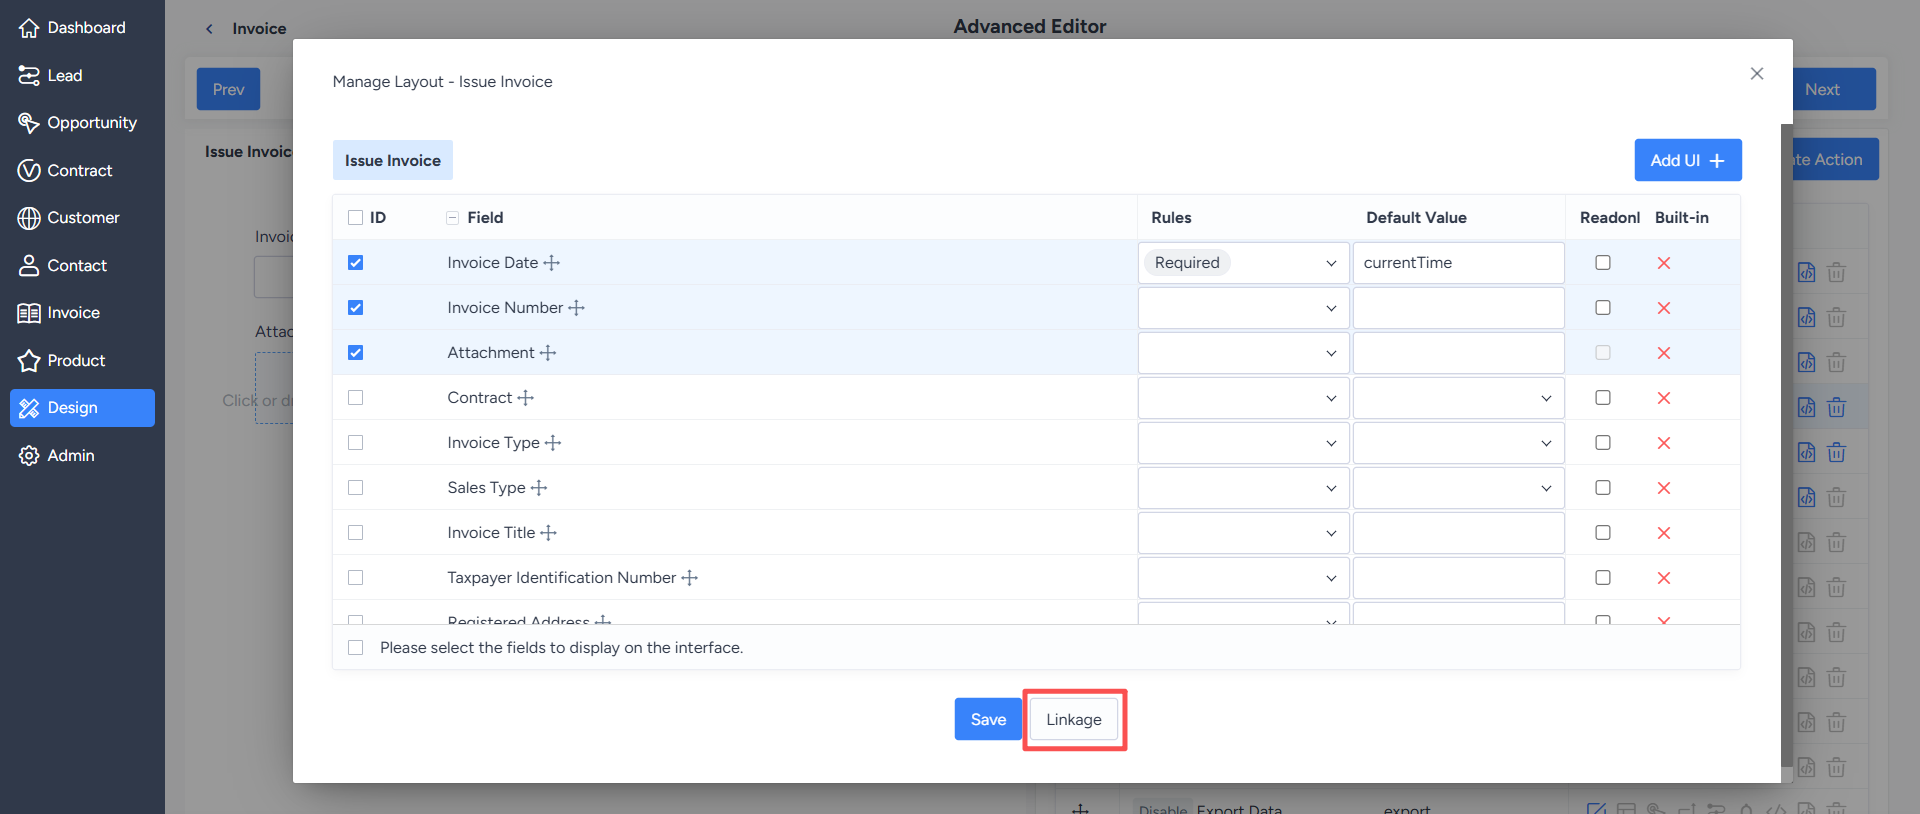
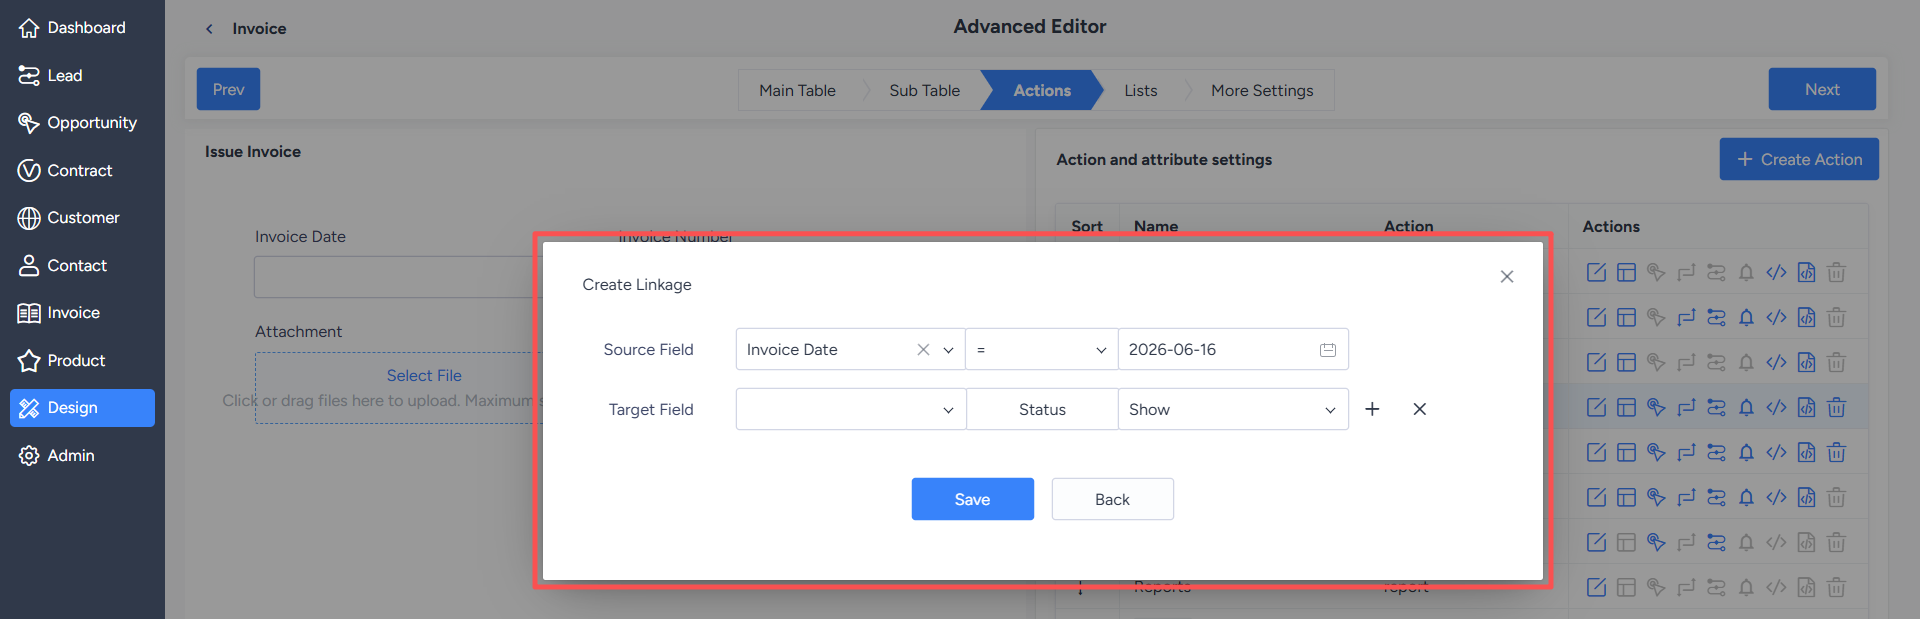
Interface linkage is used to control the display or hiding of other fields based on the value of a specific field.The operation method is: Enter the "Interface" design page of the action, click the "Interface Linkage" button at the bottom, and maintain the linkage rules.
For example, when "Usage Type" is "Stamp," the "Stamp Time" field is displayed and the "Borrowing Time" field is hidden; when "Usage Type" is "Borrowing," the "Stamp Time" is hidden and the "Borrowing Time" is displayed. Both the source and target fields come from the fields already displayed in the current action interface.
4. Configure Trigger Conditions for an Action
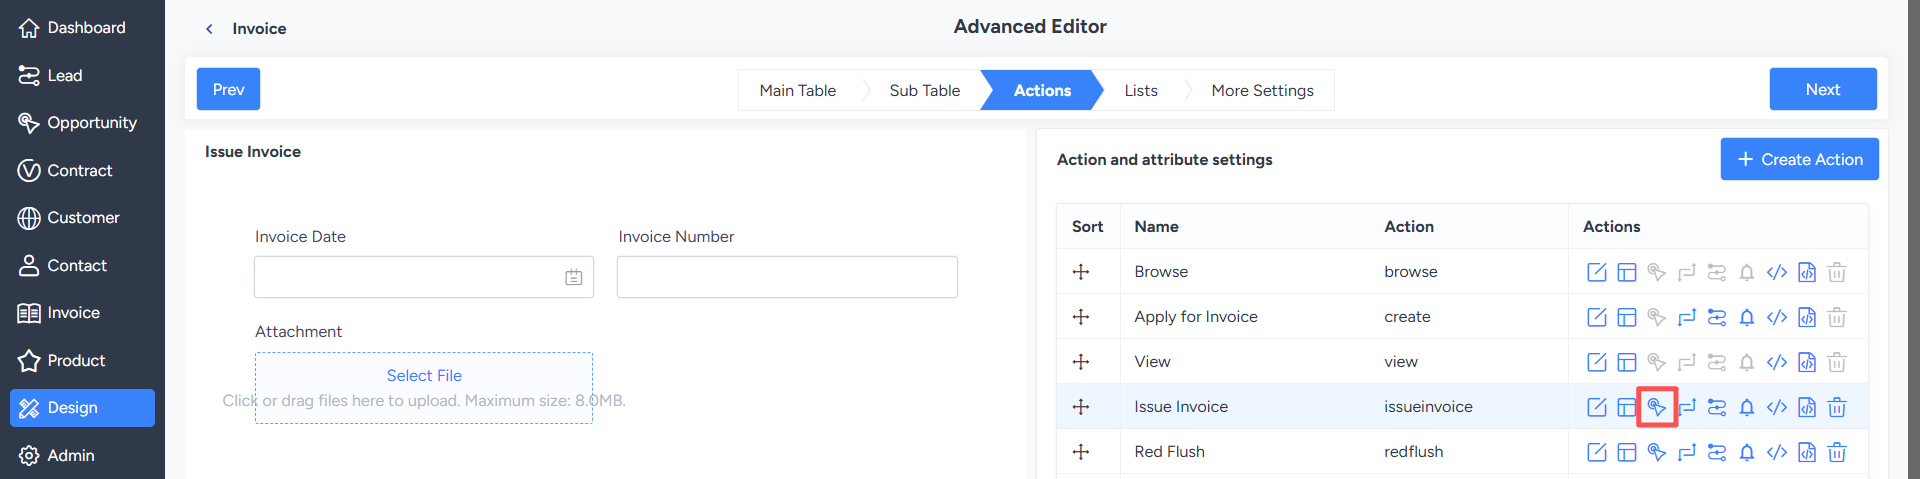
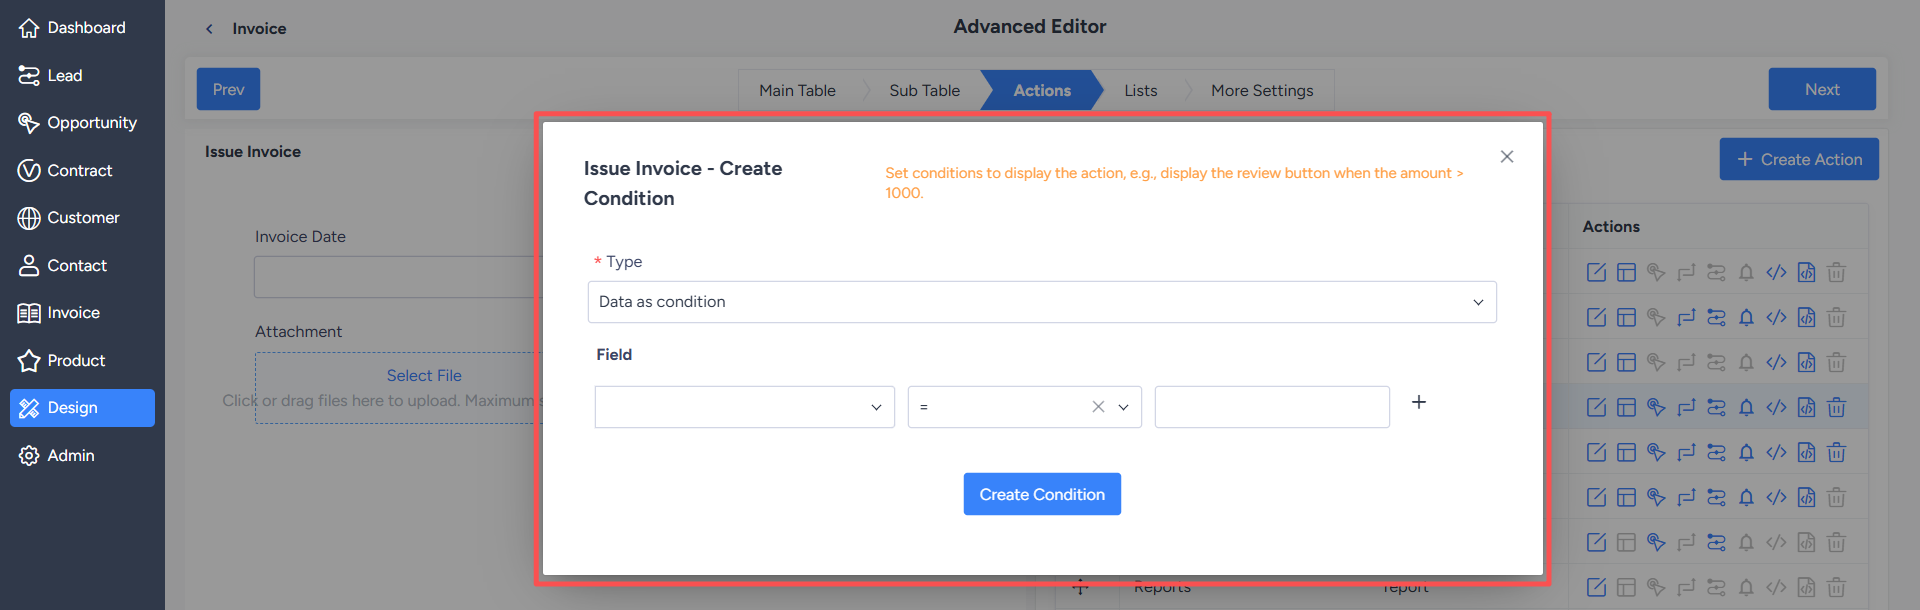
Trigger conditions are used to control whether an action is displayed or available.For example, the "Review" action is only allowed to be displayed or used when the data status is "Pending Review" and the current user is the reviewer. Triggering conditions can also be determined by manually writing SQL queries.
5. Configure Extended Actions after Executing Actions
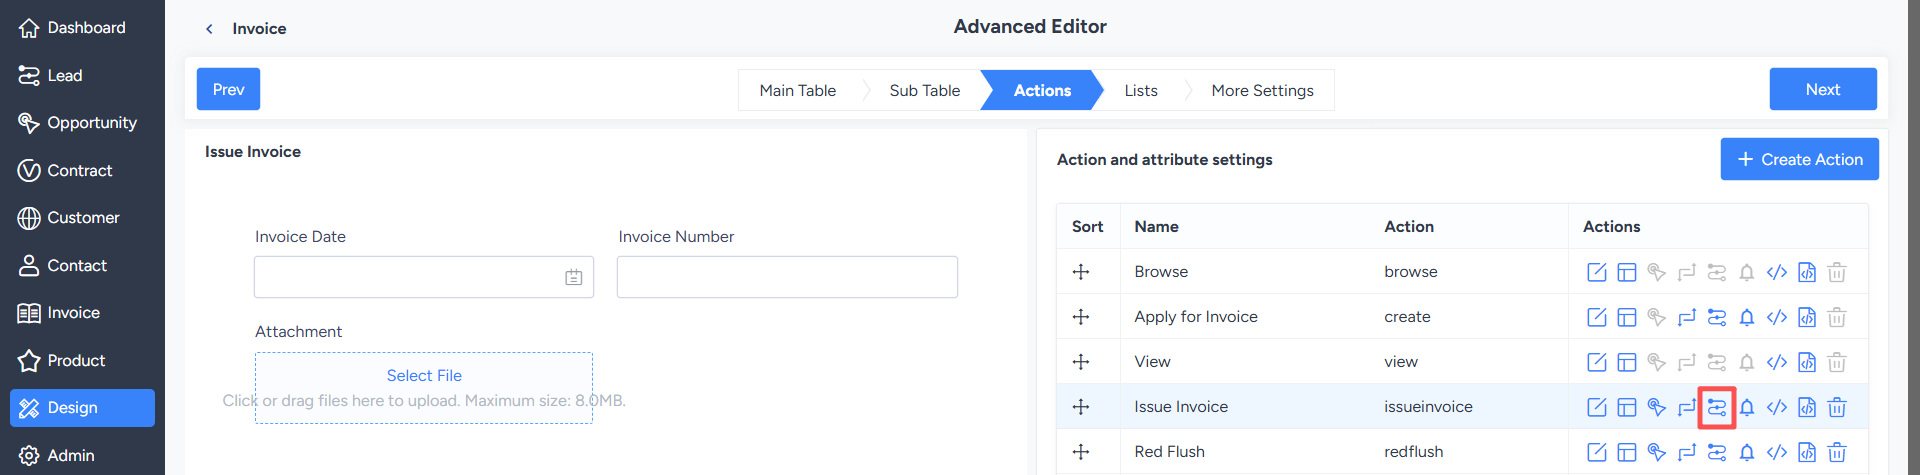
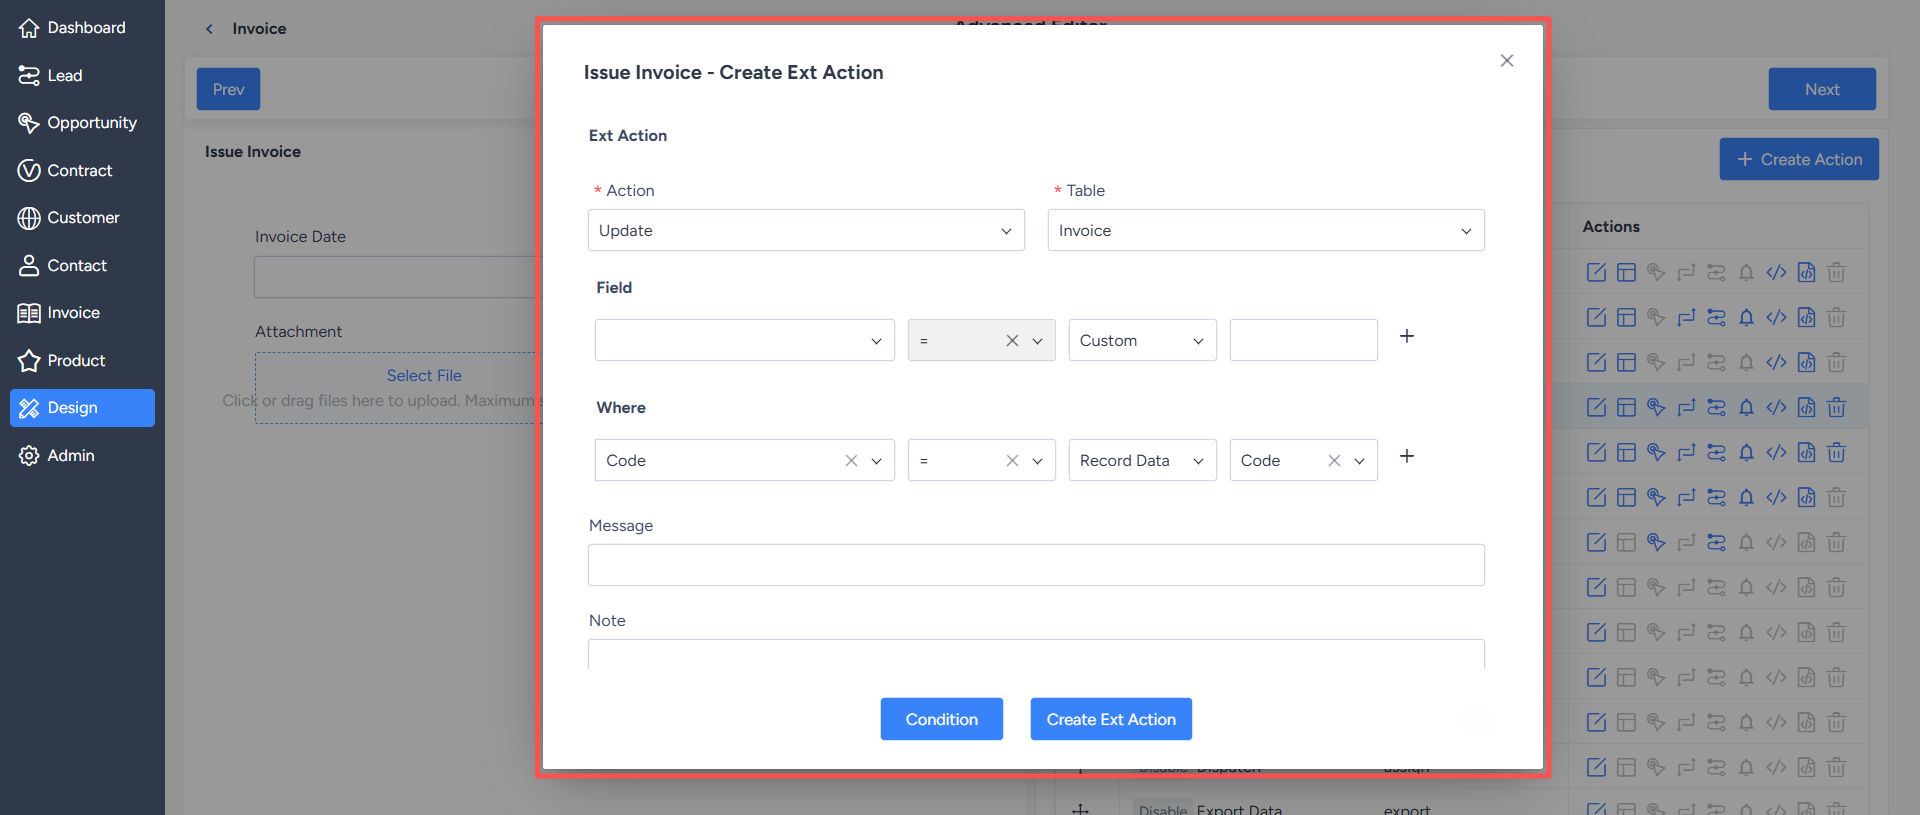
Extended actions refer to other operations automatically executed by the system after the current action is executed. Extended actions can also have triggering conditions set; if no triggering condition is set, they are executed unconditionally by default.Note: The triggering condition in an extended action is determined before the main action is executed, not after the main action is completed.
Extended actions support adding, editing, and deleting data tables. When adding data, the target table's field restrictions must be met; for example, required fields must be inserted, and fields with restricted values must be inserted with values that meet the requirements. When editing and deleting data, conditions usually need to be set; otherwise, it may affect all data in the table.
6. Configure Data Validation for Action Forms
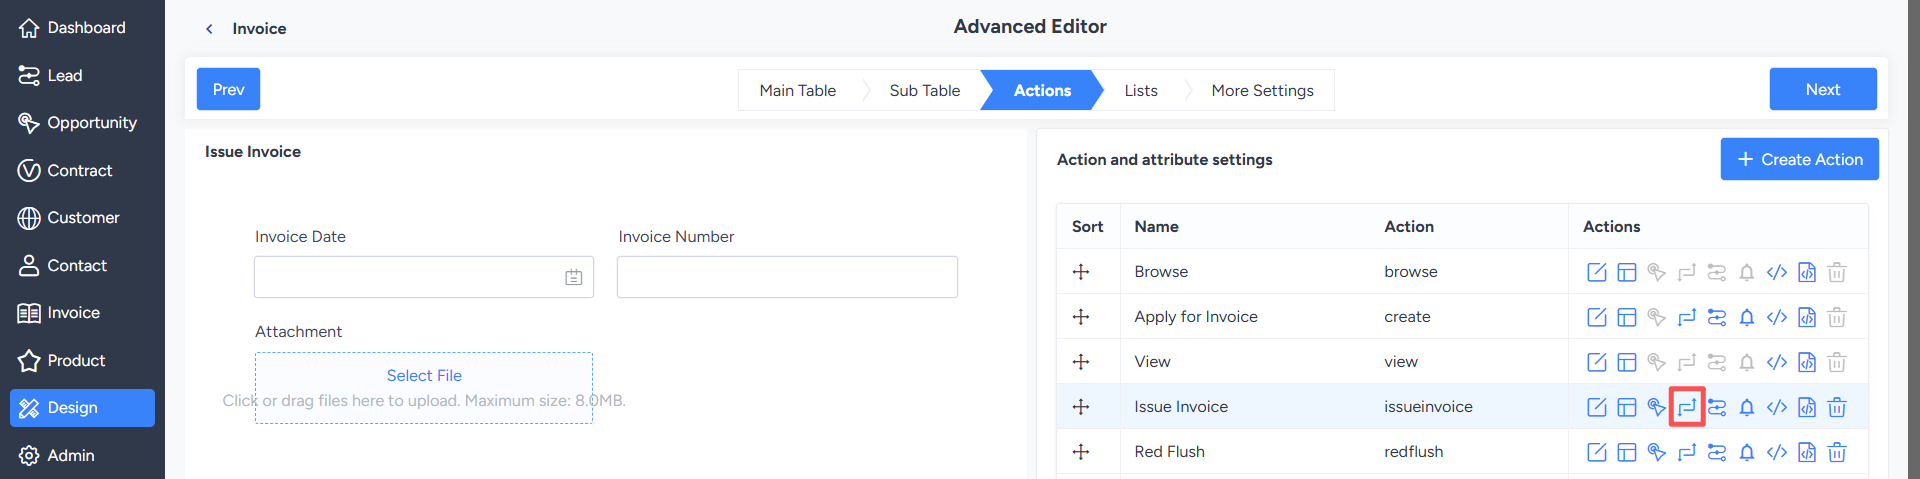
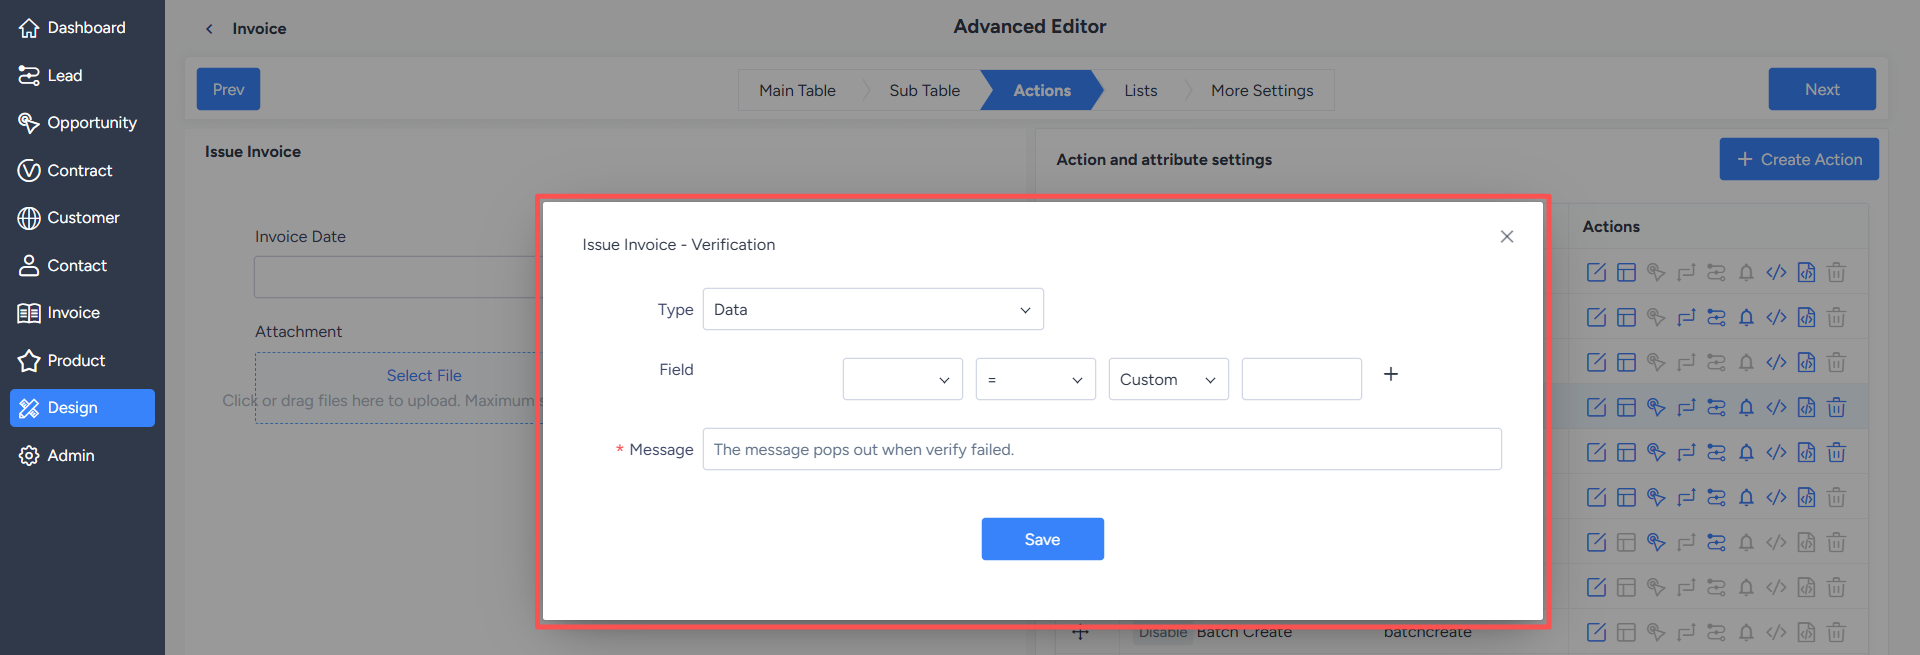
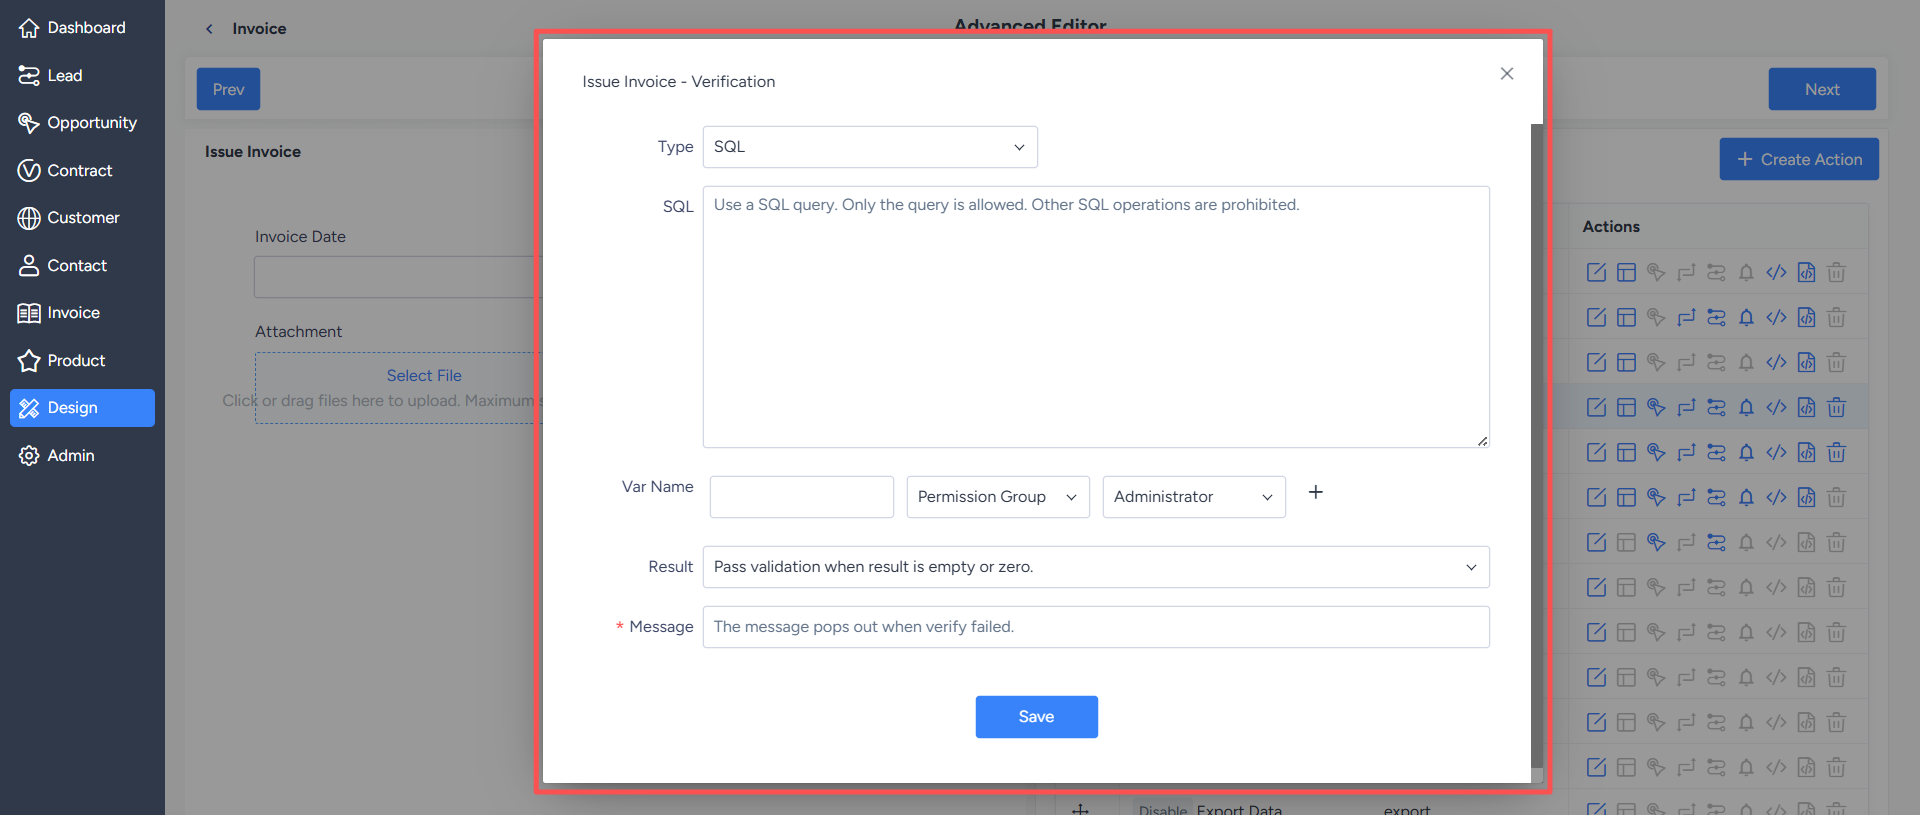
Data validation is used to check whether data conforms to business rules before form submission. For example, in a vehicle reservation scenario, it can verify whether the intended vehicle has already been rented.Note: The form will not be submitted if the data meets the interception conditions set in the validation.
7. Configure Reminders After Action Executio
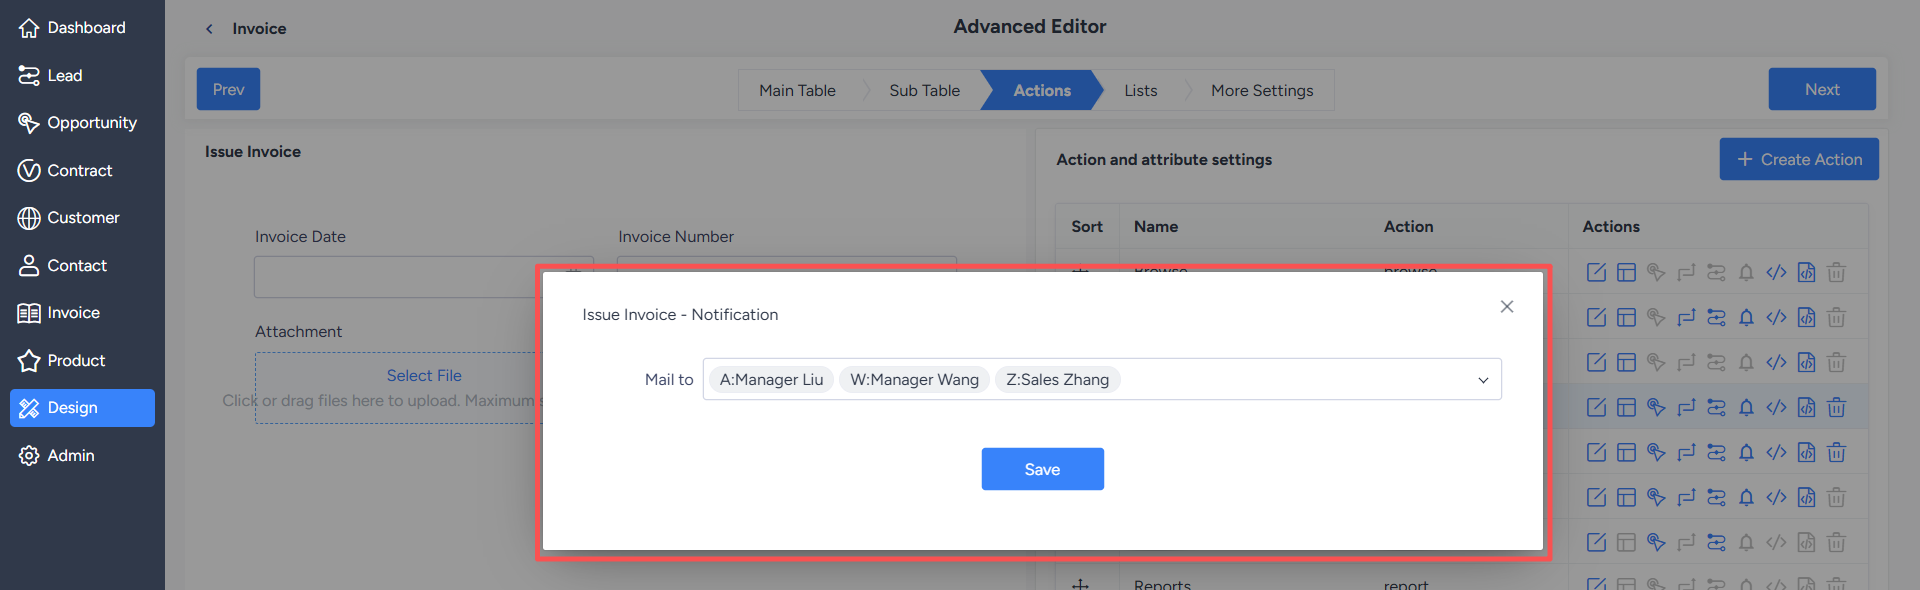
Setting reminders is used to send notifications to relevant personnel after the action is executed. Reminders can be sent via system pop-ups or emails. This function is similar to copying the action result to specified personnel or those listed in the field.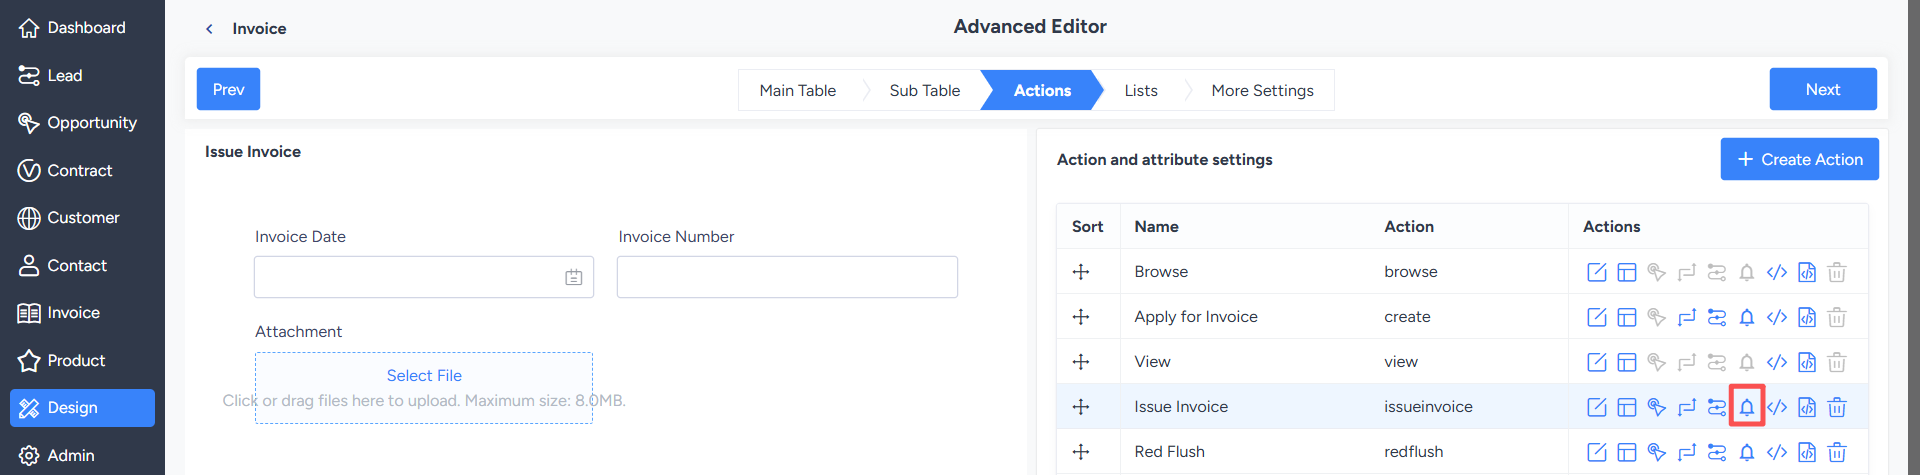
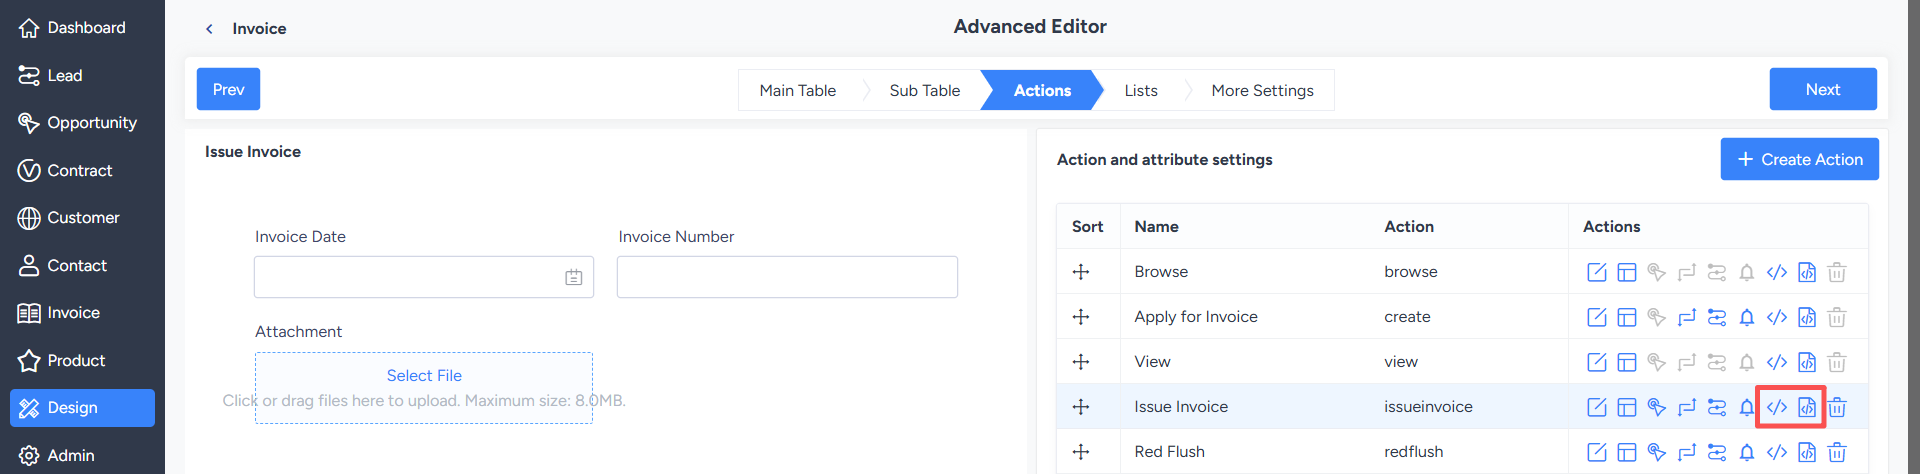
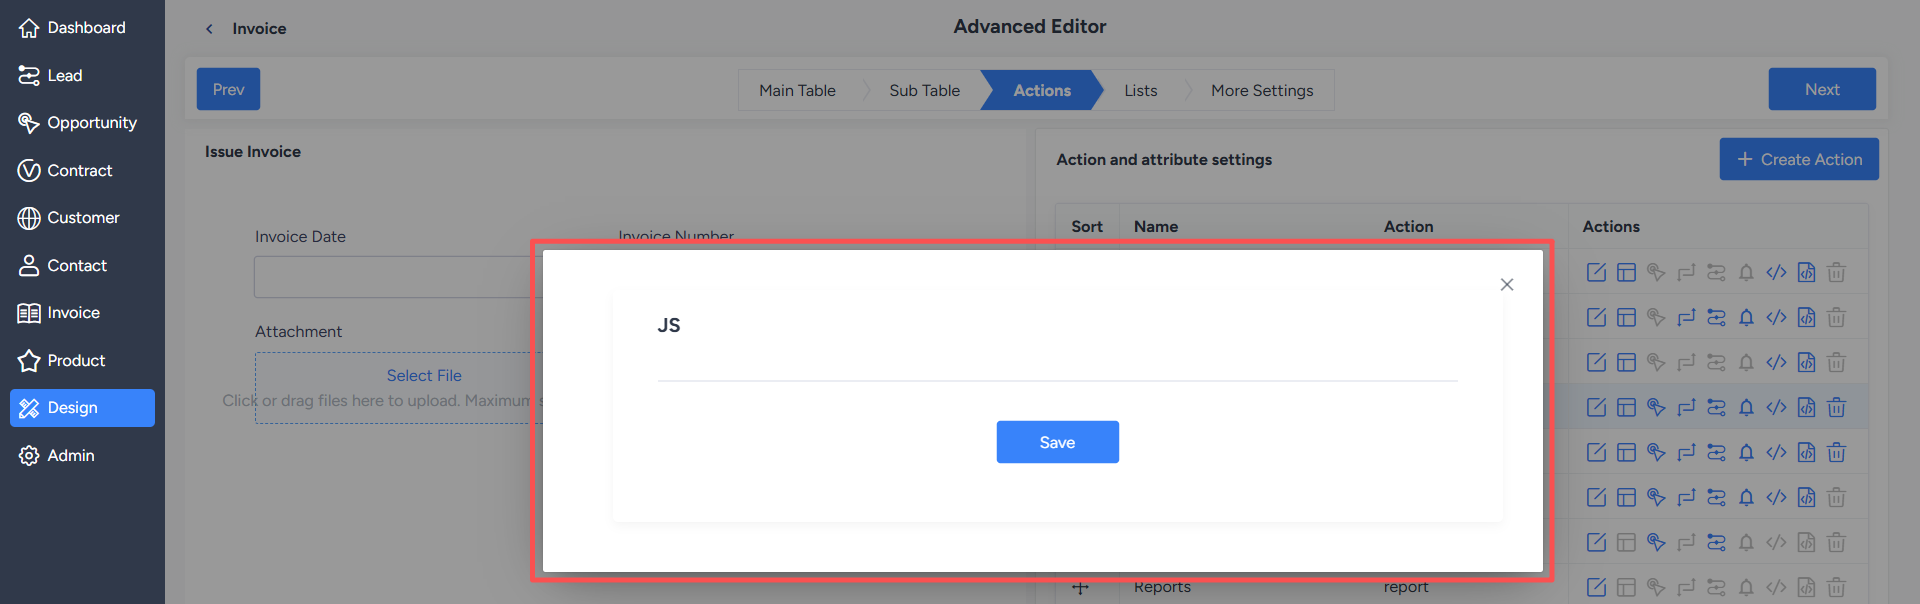
8. Customize Actions Using CSS and JS
CSS and JS in the action are used to customize the style and interaction logic of the current action page. This configuration is local and only applies to the current action page.