

Catalog
1. Enable Scheduled Tasks
On the "Scheduled" page, you need to enable scheduled tasks first. Once enabled, the system will display the built-in scheduled task list and execute related tasks according to the configuration.2. View Built-in Scheduled Tasks
The system has some commonly used built-in scheduled tasks, such as: updating burn-down charts, updating cumulative flow graphs, daily task reminders, SVN synchronization, and Git synchronization.Administrators can view information such as task name, execution cycle, and execution status in the scheduled task list.

3. Add Scheduled Tasks
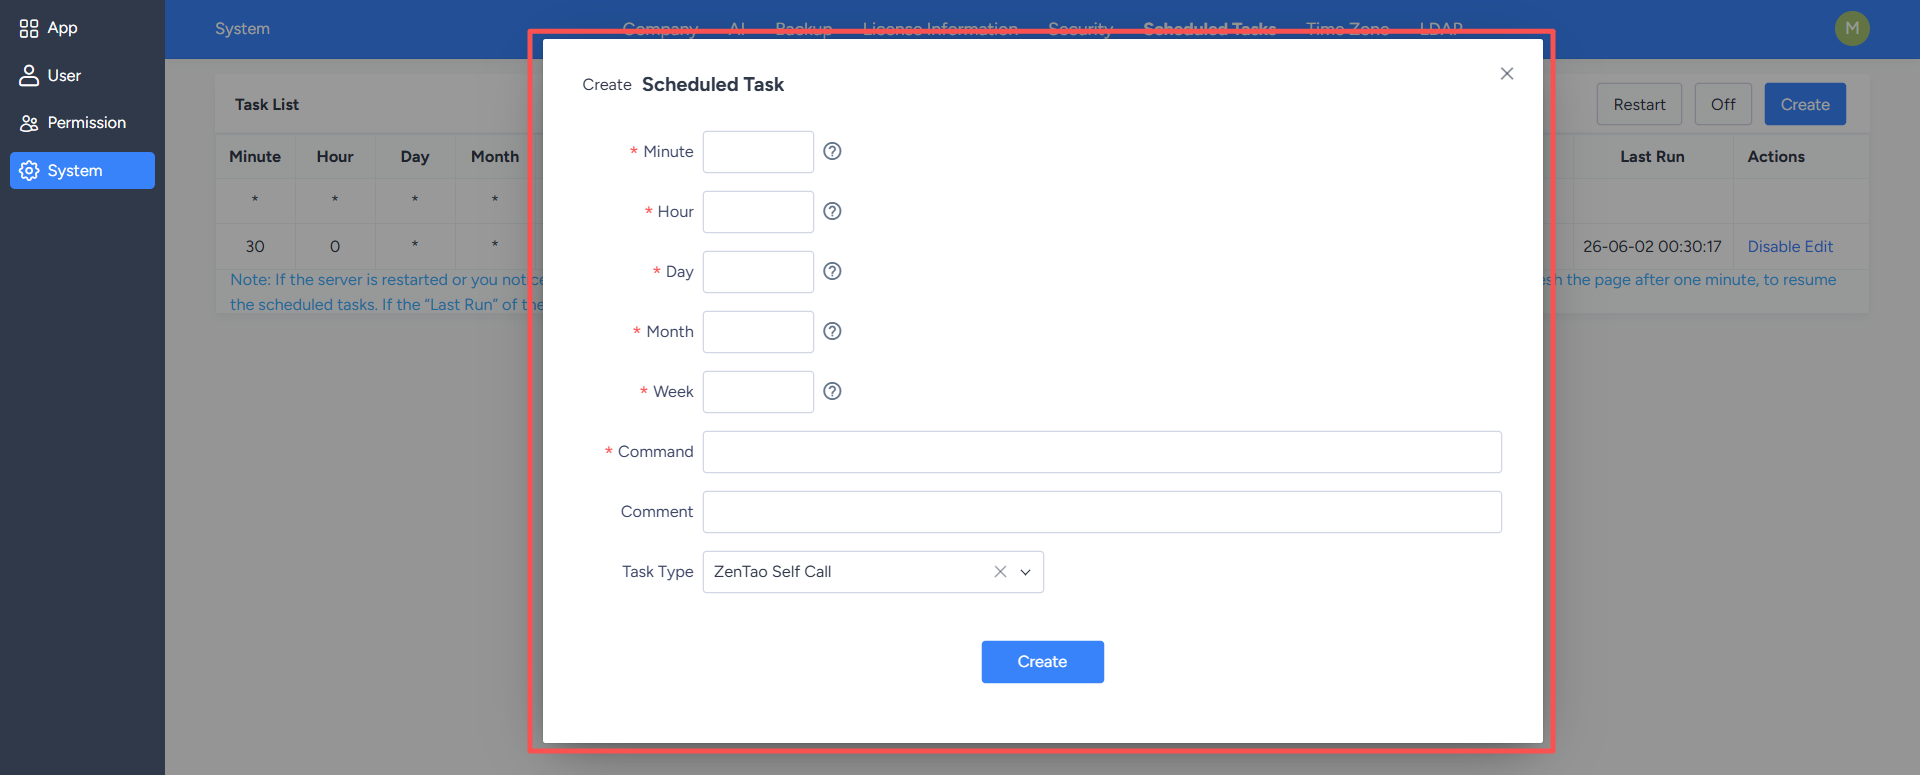
Click the "Add" button in the upper right corner of the page to add a custom scheduled task.When adding, you need to fill in the task name, execution command, execution cycle, and other information. After saving, the system will automatically execute the task according to the configured time rules.
4. Disable Scheduled Tasks
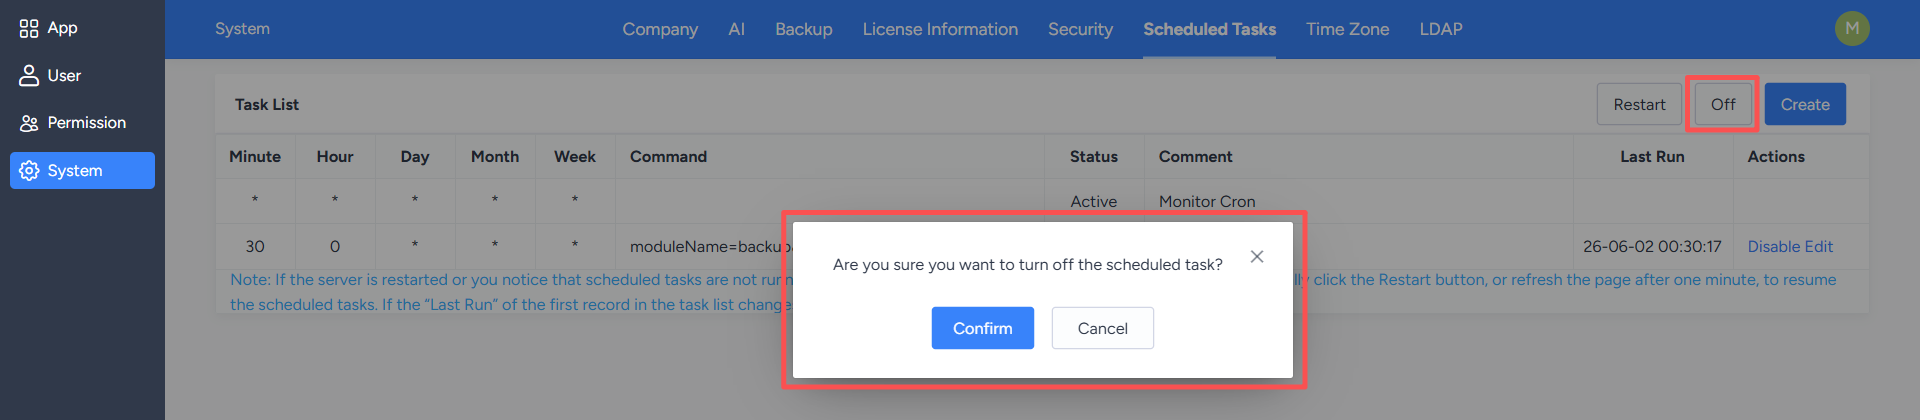
Click the "Close" button in the upper right corner of the page to disable the scheduled task function.After closing, the system will stop executing the configured scheduled tasks. To continue using them, you need to re-enable them.
5. Restart Scheduled Tasks
Click the "Restart" button in the upper right corner of the page to restart the scheduled task service.If a scheduled task fails to execute properly, or if changes to the configuration need to take effect immediately, a restart operation can be performed.



